contact us

Use the form on the right to contact us.

You can edit the text in this area, and change where the contact form on the right submits to, by entering edit mode using the modes on the bottom right.


123 Street Avenue, City Town, 99999

(123) 555-6789

email@address.com


You can set your address, phone number, email and site description in the settings tab.
Link to read me page with more information.

2014-09-14 07.31.25 1.jpg

house blog

projects around the house


a busted sprinkler pipe and a nifty pvc cap.

jenn pan

so, this happened last night:


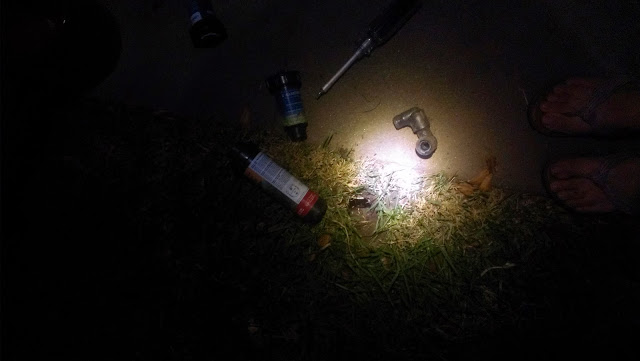
james noticed that one of our sprinkler heads was a bit crooked, so he removed it and we discovered a broken pipe! so as not create a small pond in our front yard, we went to home depot this afternoon to look for a temporary solution. temporary, because we'll not only be replacing this stretch of pipe, but extending it into another portion of the yard.


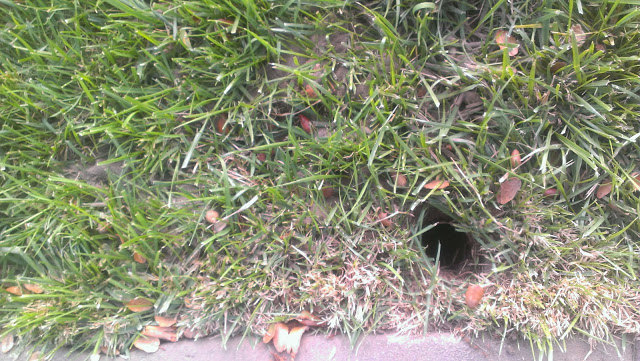
down the rabbit hole we go....


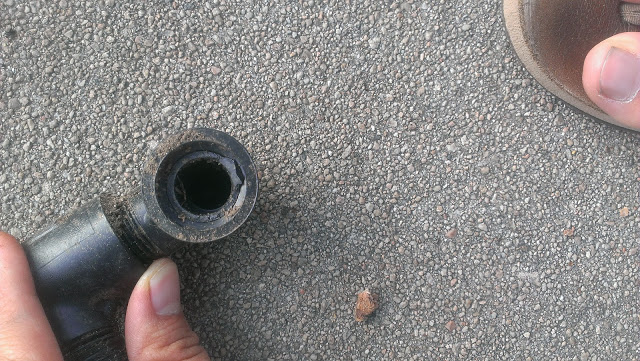
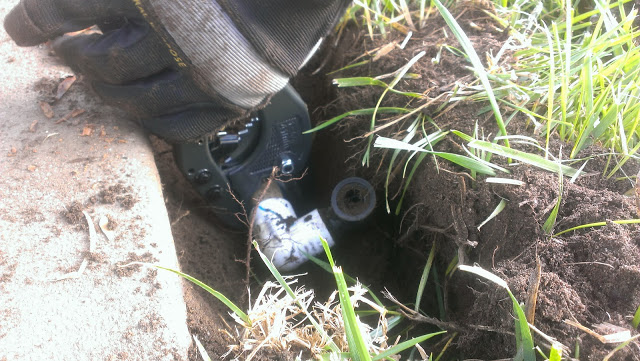
so above is the initial broken bit - you can see the pvc pipe broke off inside the elbow joint. after a bit of digging, we discovered the coupling off the main sprinkler line (we may have had to "break" off a bit more pipe to get to this point), and this is where we made our cut!


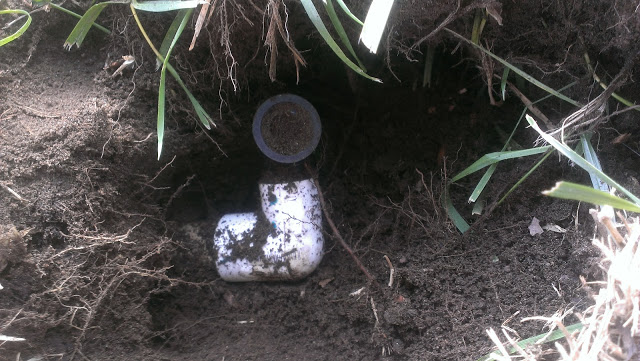
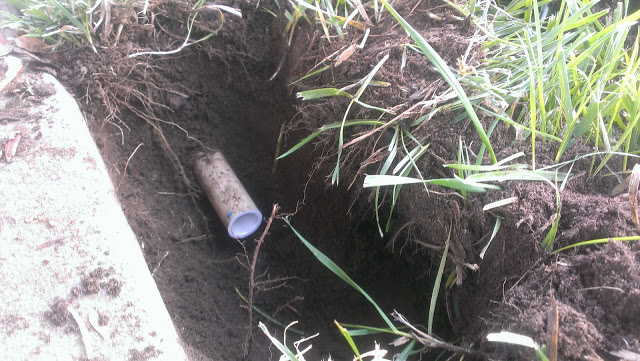
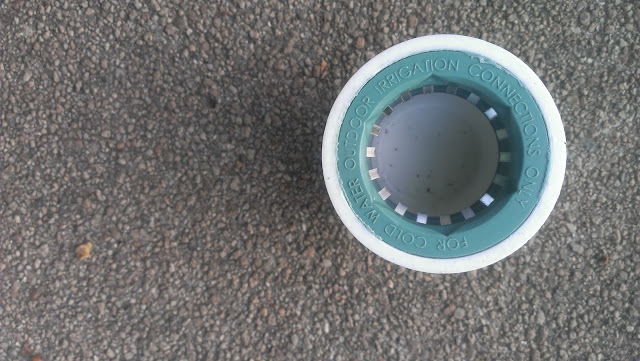
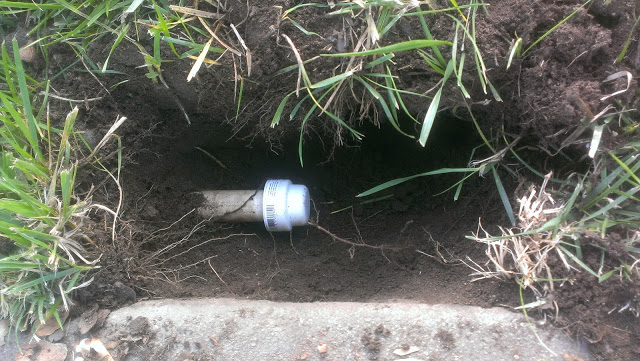
after cleaning off the freshly cut end of the pvc pipe, we used this nifty pvc "lock" end cap that we purchased (thank you plumbing aisle guy for pointing us to this! we had other crazy ideas...).


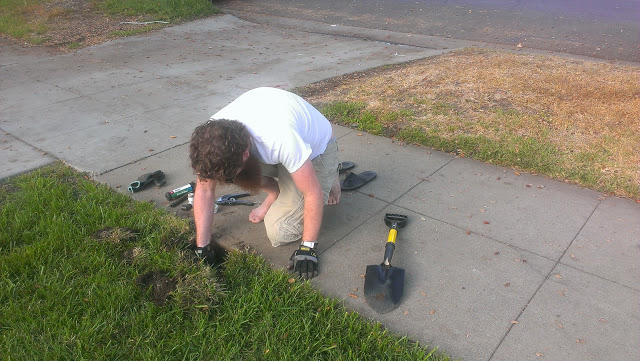
and voila! james turned the sprinklers back on and no leakage! this all took about fifteen minutes. whew! we are very glad this was a terminal sprinkler and that a temporary solution was so easy.


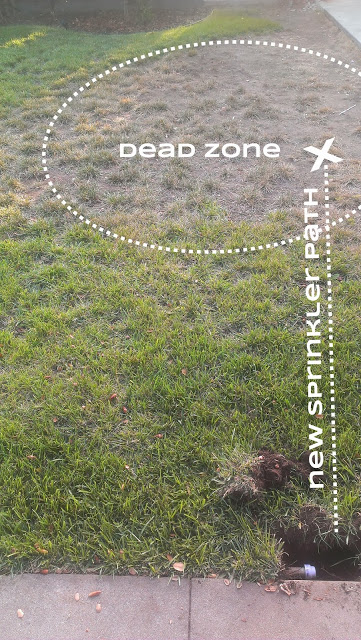
the more permanent solution is a bit more involved. i even made a graphic to illustrate! we have a bit of a "dead zone" in our yard, an area where the sprinklers don't really saturate, and the ground is rather dry, and the grass is rather dead. below, you can see the plan. once we get a replacement sprinkler head, we will also be T-ing another pipe off of it, into the dead zone, and install an additional sprinkler head there. this might not necessarily be the best plan (extending the terminal back towards the source, rather than extending from one closer to the source), but we'll see what happens.


the coffee table and a little restoration.

jenn pan


so remember that coffee table we picked up at goodwill the other week? well, i decided to give it a bit of a second life this past weekend using this simple and great wood refreshment method i found on yellow brick home. basically, you sand it with very fine sand paper, clean it with murphy oil soap, "finish" it with watco danish oil, then polish with howard feed-n-wax. as a reminder, here is what it looked like:


a light/medium golden brown color. pretty scuffed up. the before and after are hard to really distinguish in photographs, especially since i took my befores outside during the day, and the afters were mostly inside the house, at night. but the following set of three photos are probably the most telling of the difference between the when i started and when i finished:


above, you can see pretty clearly the color, the amount of shine from the varnish, and how dinged and scratched it is around the edges. below is after sanding the best i could by hand (those grooves are really hard to sand), though the legs are not sanded yet.


and the following is after the sanding/oiling/polishing is done. you can see that it's much more matte and dark overall, with the details in the wood really nicely brought out by the sanding and the danish oil.


so, now that that's been explained, let's start from the beginning! my feelings certainly won't be hurt if you skip the following details to the end, but i thought it was fun and worth (over)-documenting.

some more before shots that show the true condition of the table; did i mention it was missing any real feet? also, it should be noted that the very top layer of the table is veneer, so there was only so much i could really do with it until we find the time (and the skills!) to make a new top entirely.


certainly seems like it's been through a lot, with all the scuffs everywhere, and i have a feeling at least one of the previous owners had a dog who enjoyed chewing on furniture.

here are the table end and legs after sanding and wiping down with a wet rag to clean up any dust:


everything but the veneer top got a heavy sanding to remove as much as possible; the veneer just got a gentle sanding to clean it up a bit and give it some grit. the wood actually picked up a nice color after i used the murphy oil soap to clean it all and i was really tempted to leave it as is, but it was just too different from the veneer. plus, without some sort of finish, the wood would have been completely unprotected.


and finally, with the danish oil (we bought it in dark walnut) applied, which just instantly brought out so many details in the wood. definitely an exciting moment! i was also excited that it worked well enough with the veneer, which i had been worried wouldn't really soap up the color of the oil. and while it's not perfect, it really did pretty good.


and here it is in our living room! i still need to attach the little furniture feet we bought to the legs, they just hammered into the bottoms (we did pre-drill) so it was super easy. and obviously, once we got indoors, sanford had to get in on the action and inspect our work.


anyway, that's it! the table went from being a decent convenience, to a piece that i really love inside our living room. it feels darker/warmer than the indoor photos really lead you to believe, without being as dark as, say, our dining table or our floors.


spooky halloween table setting.

jenn pan


this is what our dining table looks like right now! there's a bit of a story behind a couple of the pieces, so bear with me.
so, i've wanted these skeleton hand servers from pottery barn since last year, but they were sold out - so the instant i saw halloween decor show up on the website this year, i put them in the shopping cart. at the same time, we tacked on a few items we thought would be festive for the season, mainly the skull salt and pepper shakers (they're really heavy, we love them!) and the day of the dead table runner.


the yellow glass bowl was actually a vintage find by james's dad, who brought it (along with a matching platter and goblets! - yes, they are full on goblets) for us as a gift when they came to california in august. it's heavy and i absolutely adore the color - and it actually works really well with our "creepy" setting. now we just need to fill it with fake eyeballs or something else that's creepy crawly. the last bit piece to this puzzle is those chicken claw servers which we found at target of all places!


anyway, we had none of this in mind until we brought home those chicken servers this weekend and james started arranging the center of the table - so while i bought the bits and pieces because i thought they were cool, he's the one that put it all together. he's really proud of himself, too. ;)