the coffee table and a little restoration.
jenn pan

so remember that coffee table we picked up at goodwill the other week? well, i decided to give it a bit of a second life this past weekend using this simple and great wood refreshment method i found on yellow brick home. basically, you sand it with very fine sand paper, clean it with murphy oil soap, "finish" it with watco danish oil, then polish with howard feed-n-wax. as a reminder, here is what it looked like:
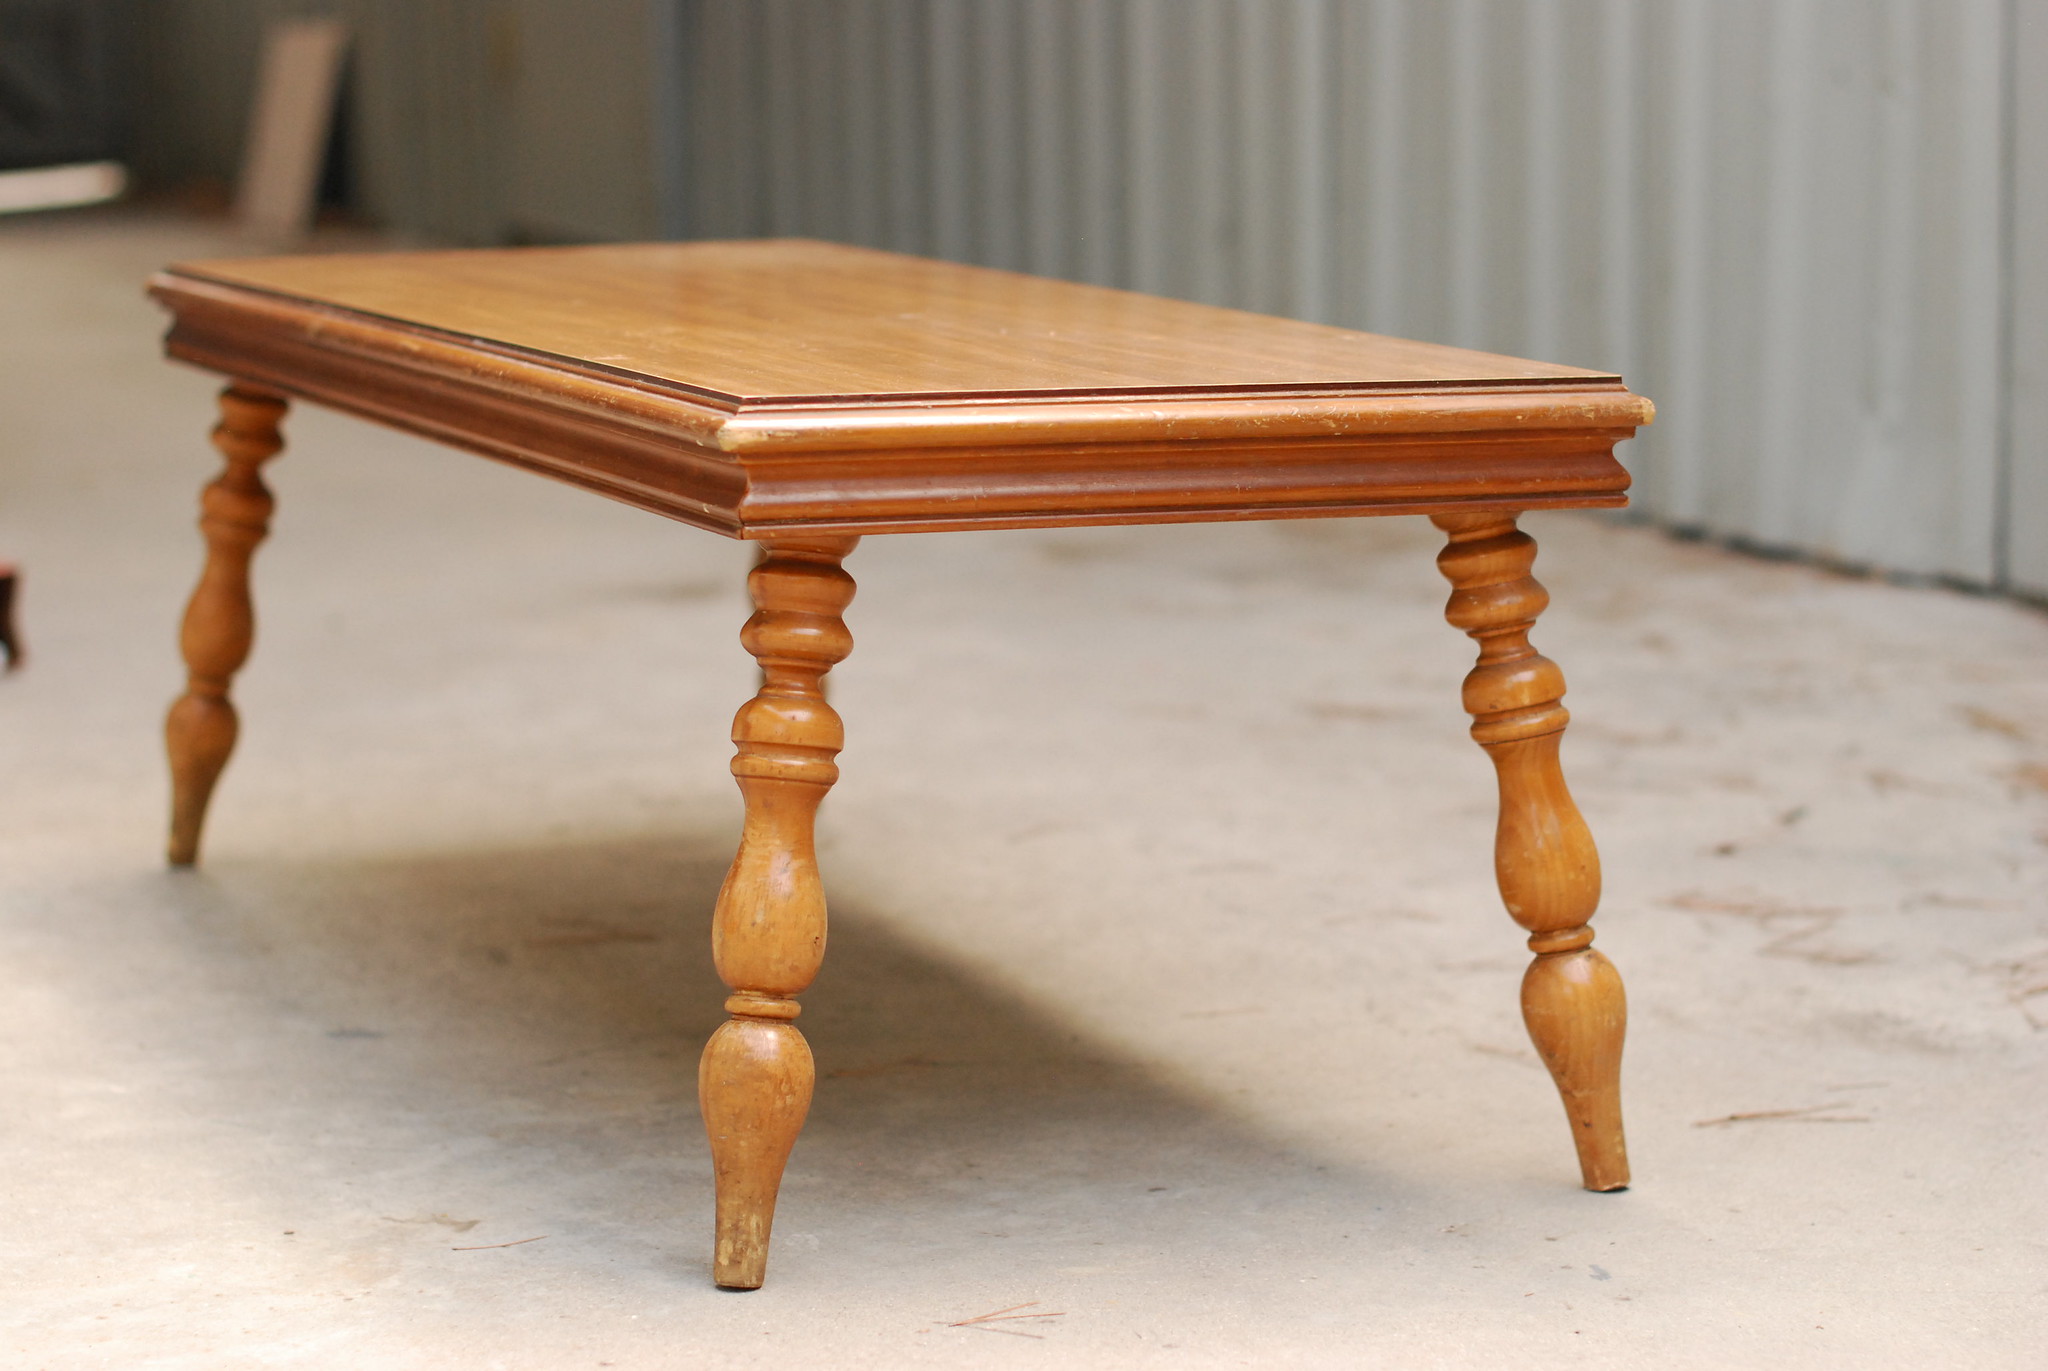
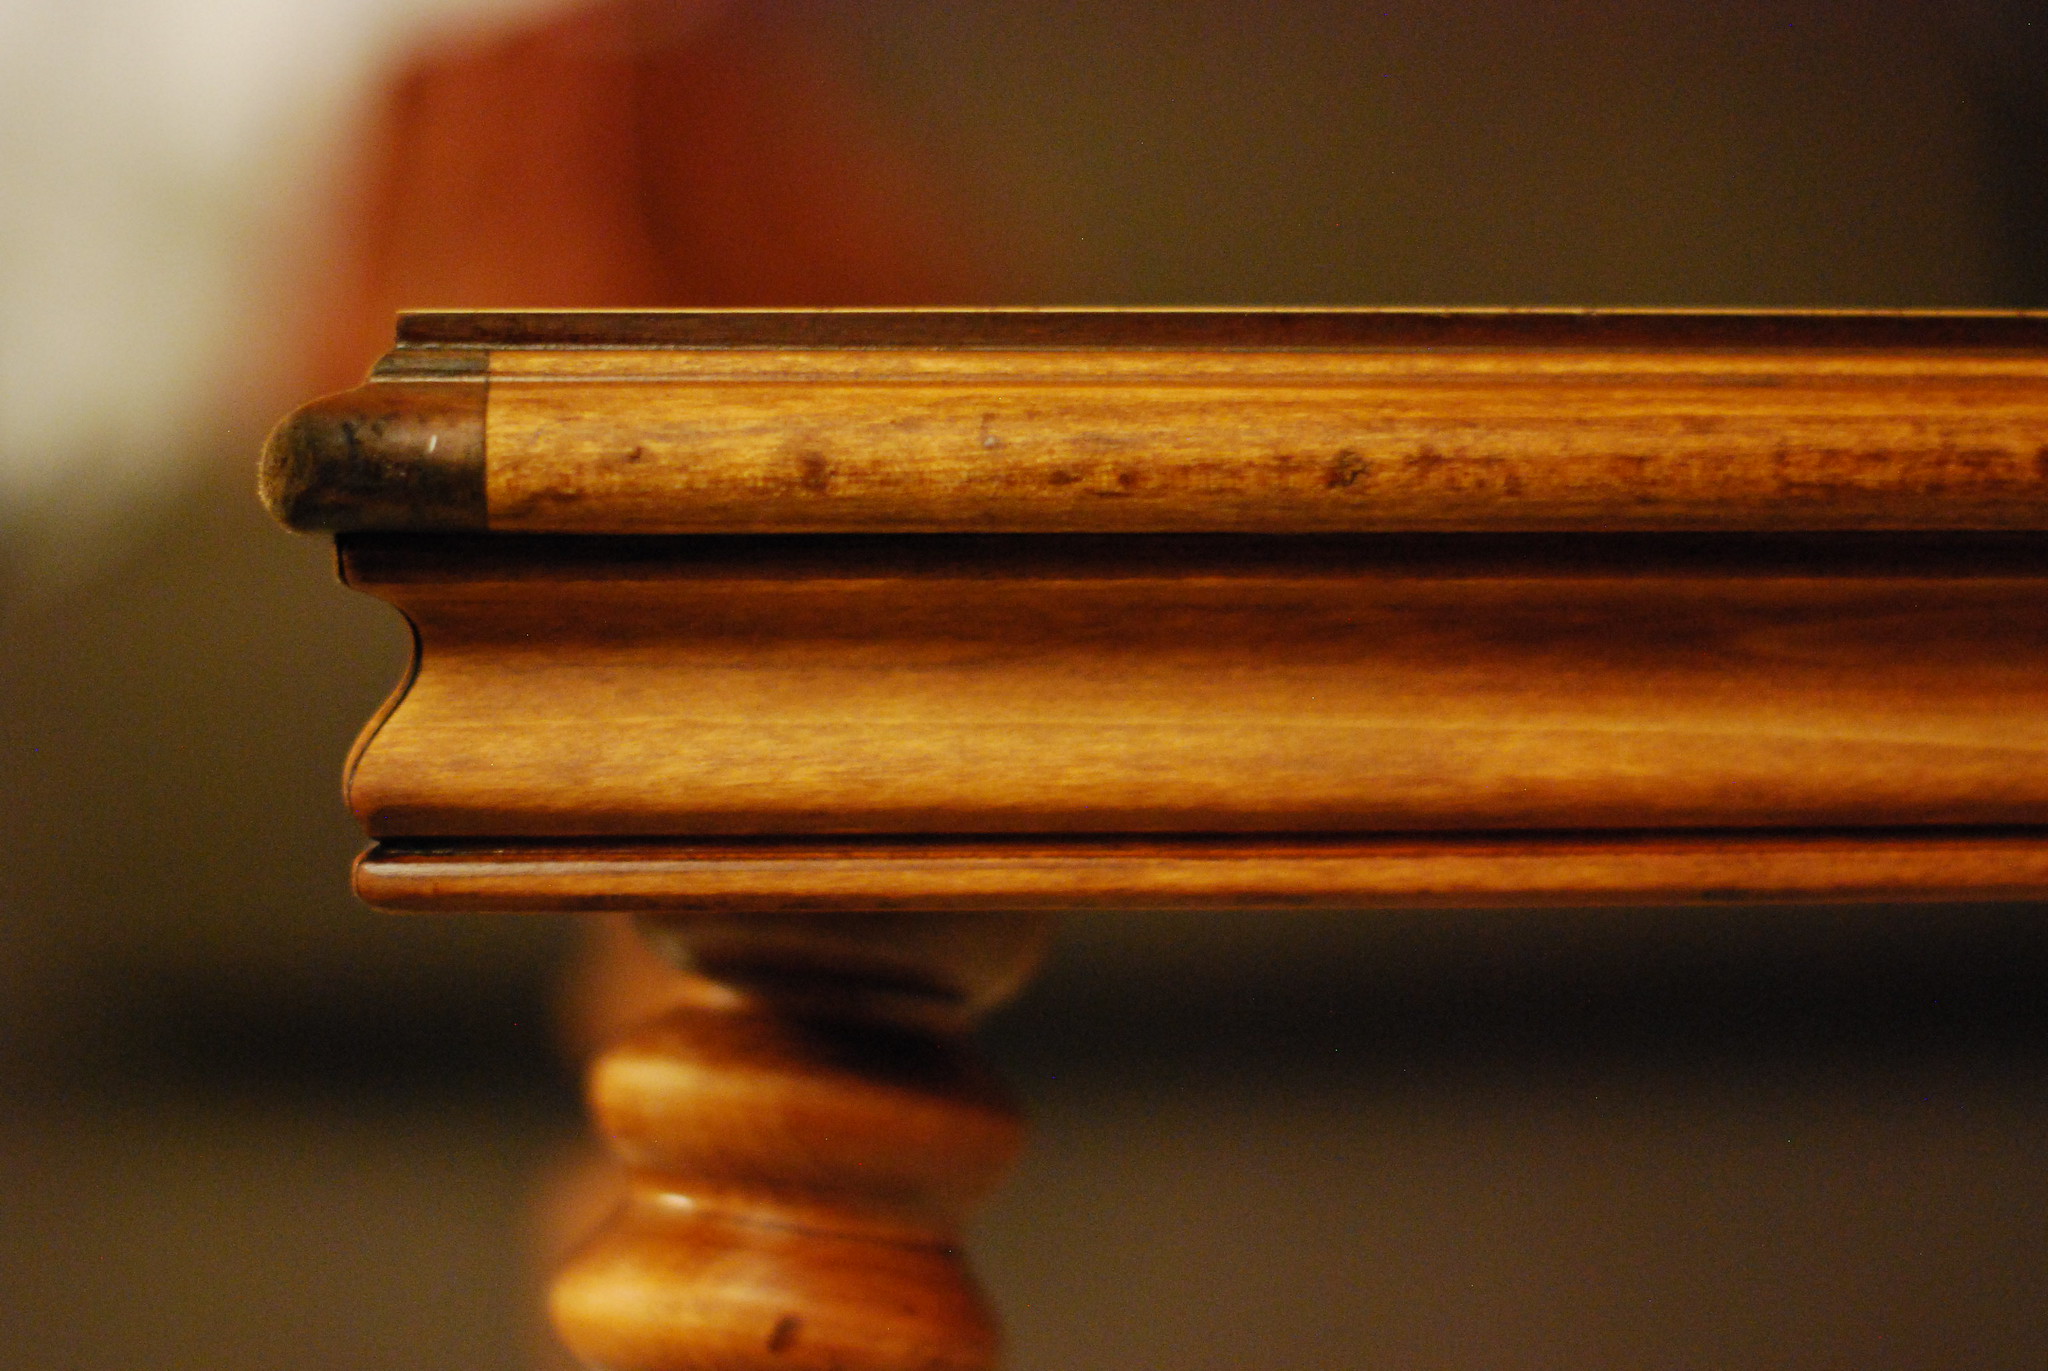
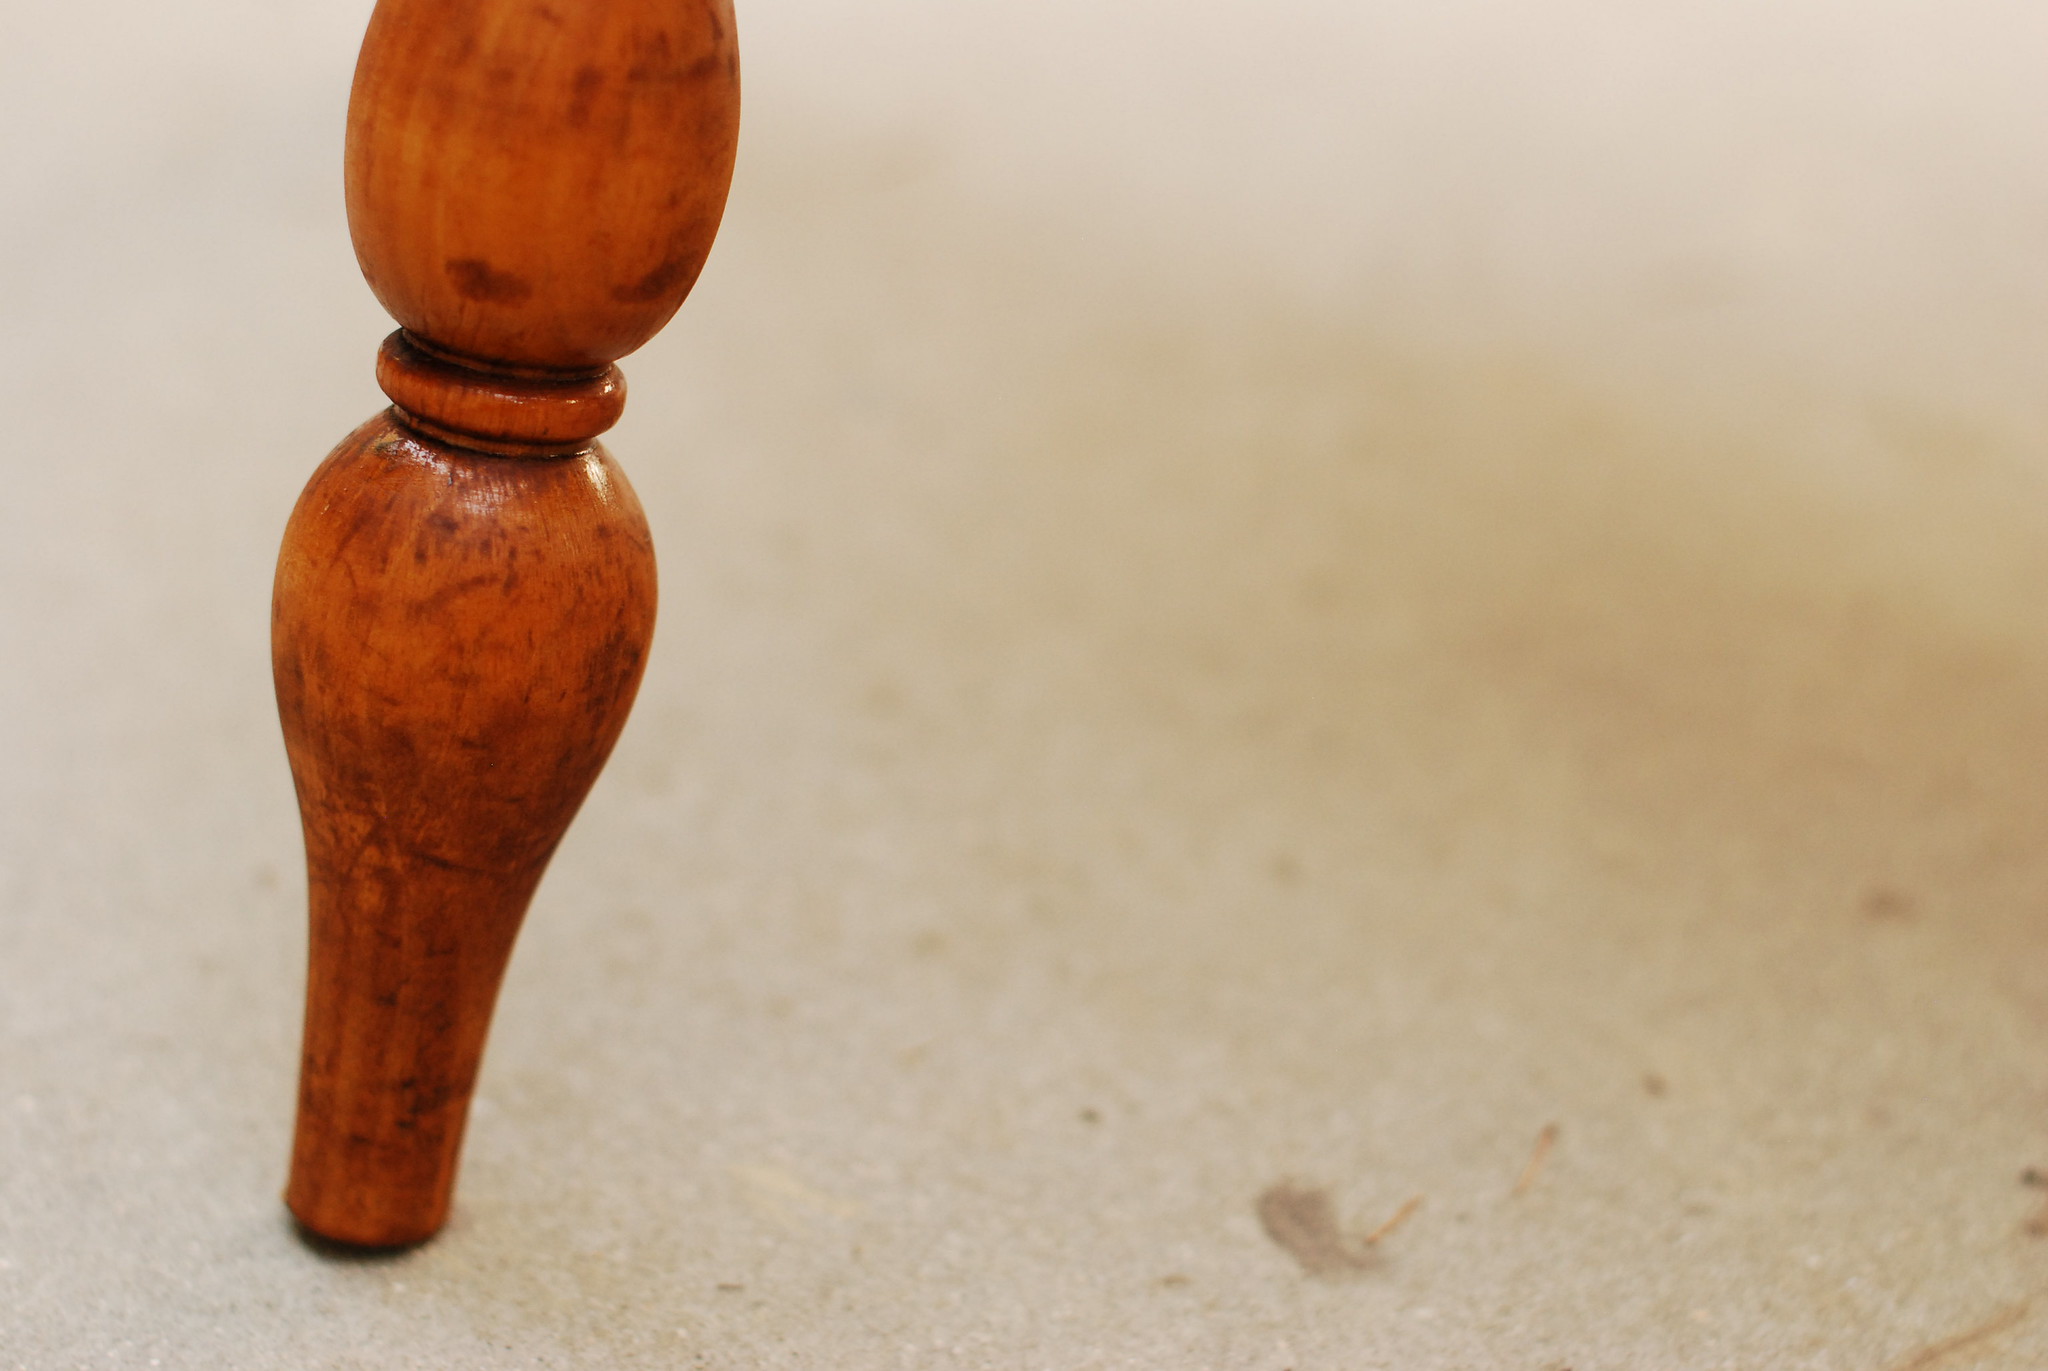
a light/medium golden brown color. pretty scuffed up. the before and after are hard to really distinguish in photographs, especially since i took my befores outside during the day, and the afters were mostly inside the house, at night. but the following set of three photos are probably the most telling of the difference between the when i started and when i finished:
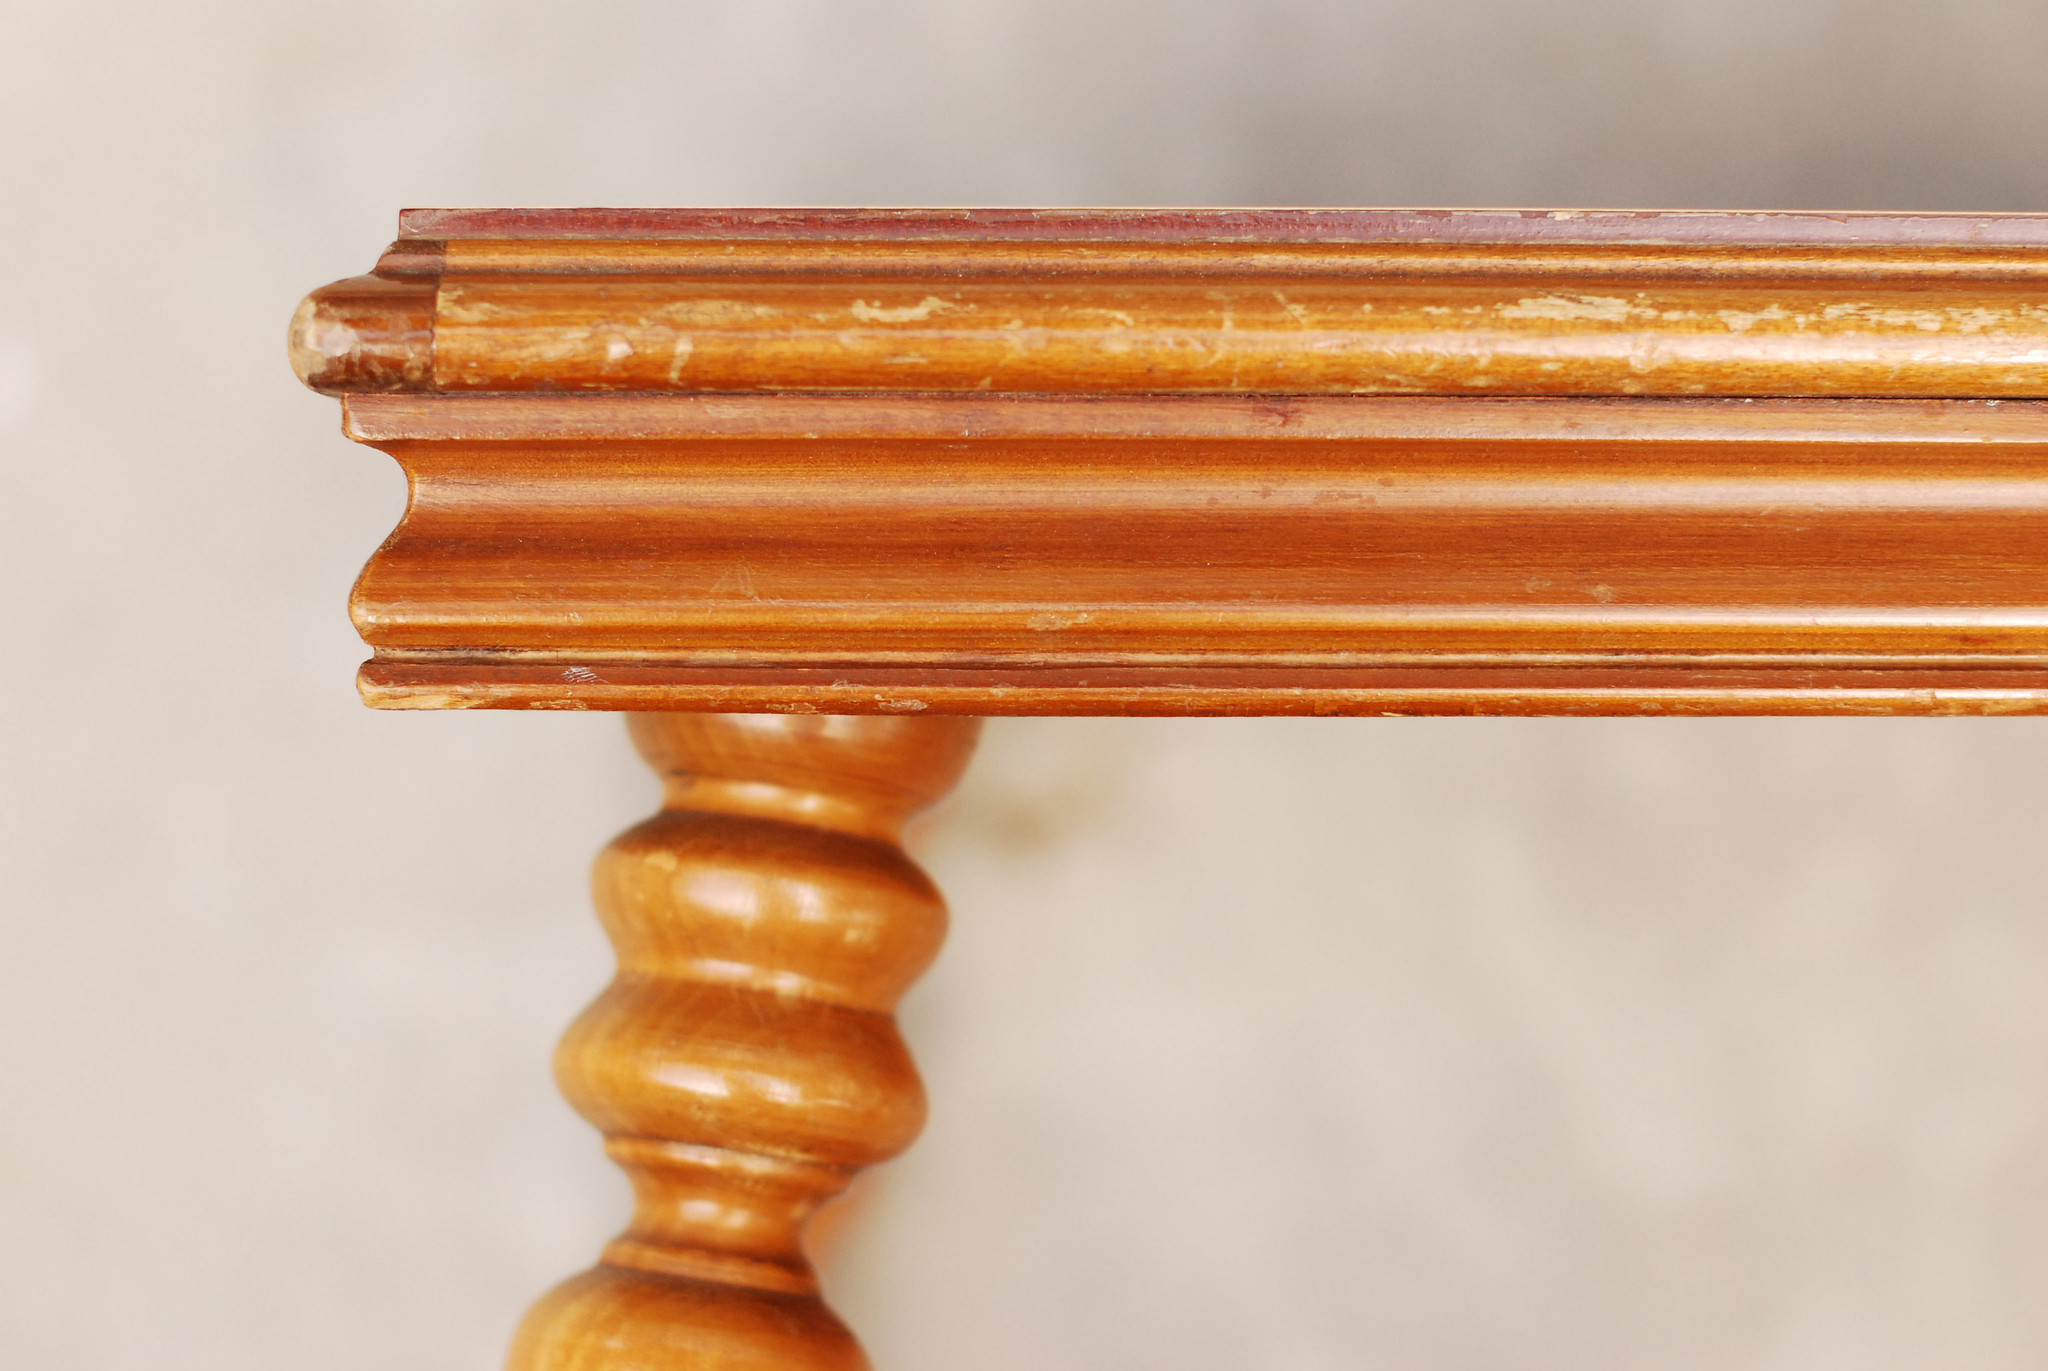
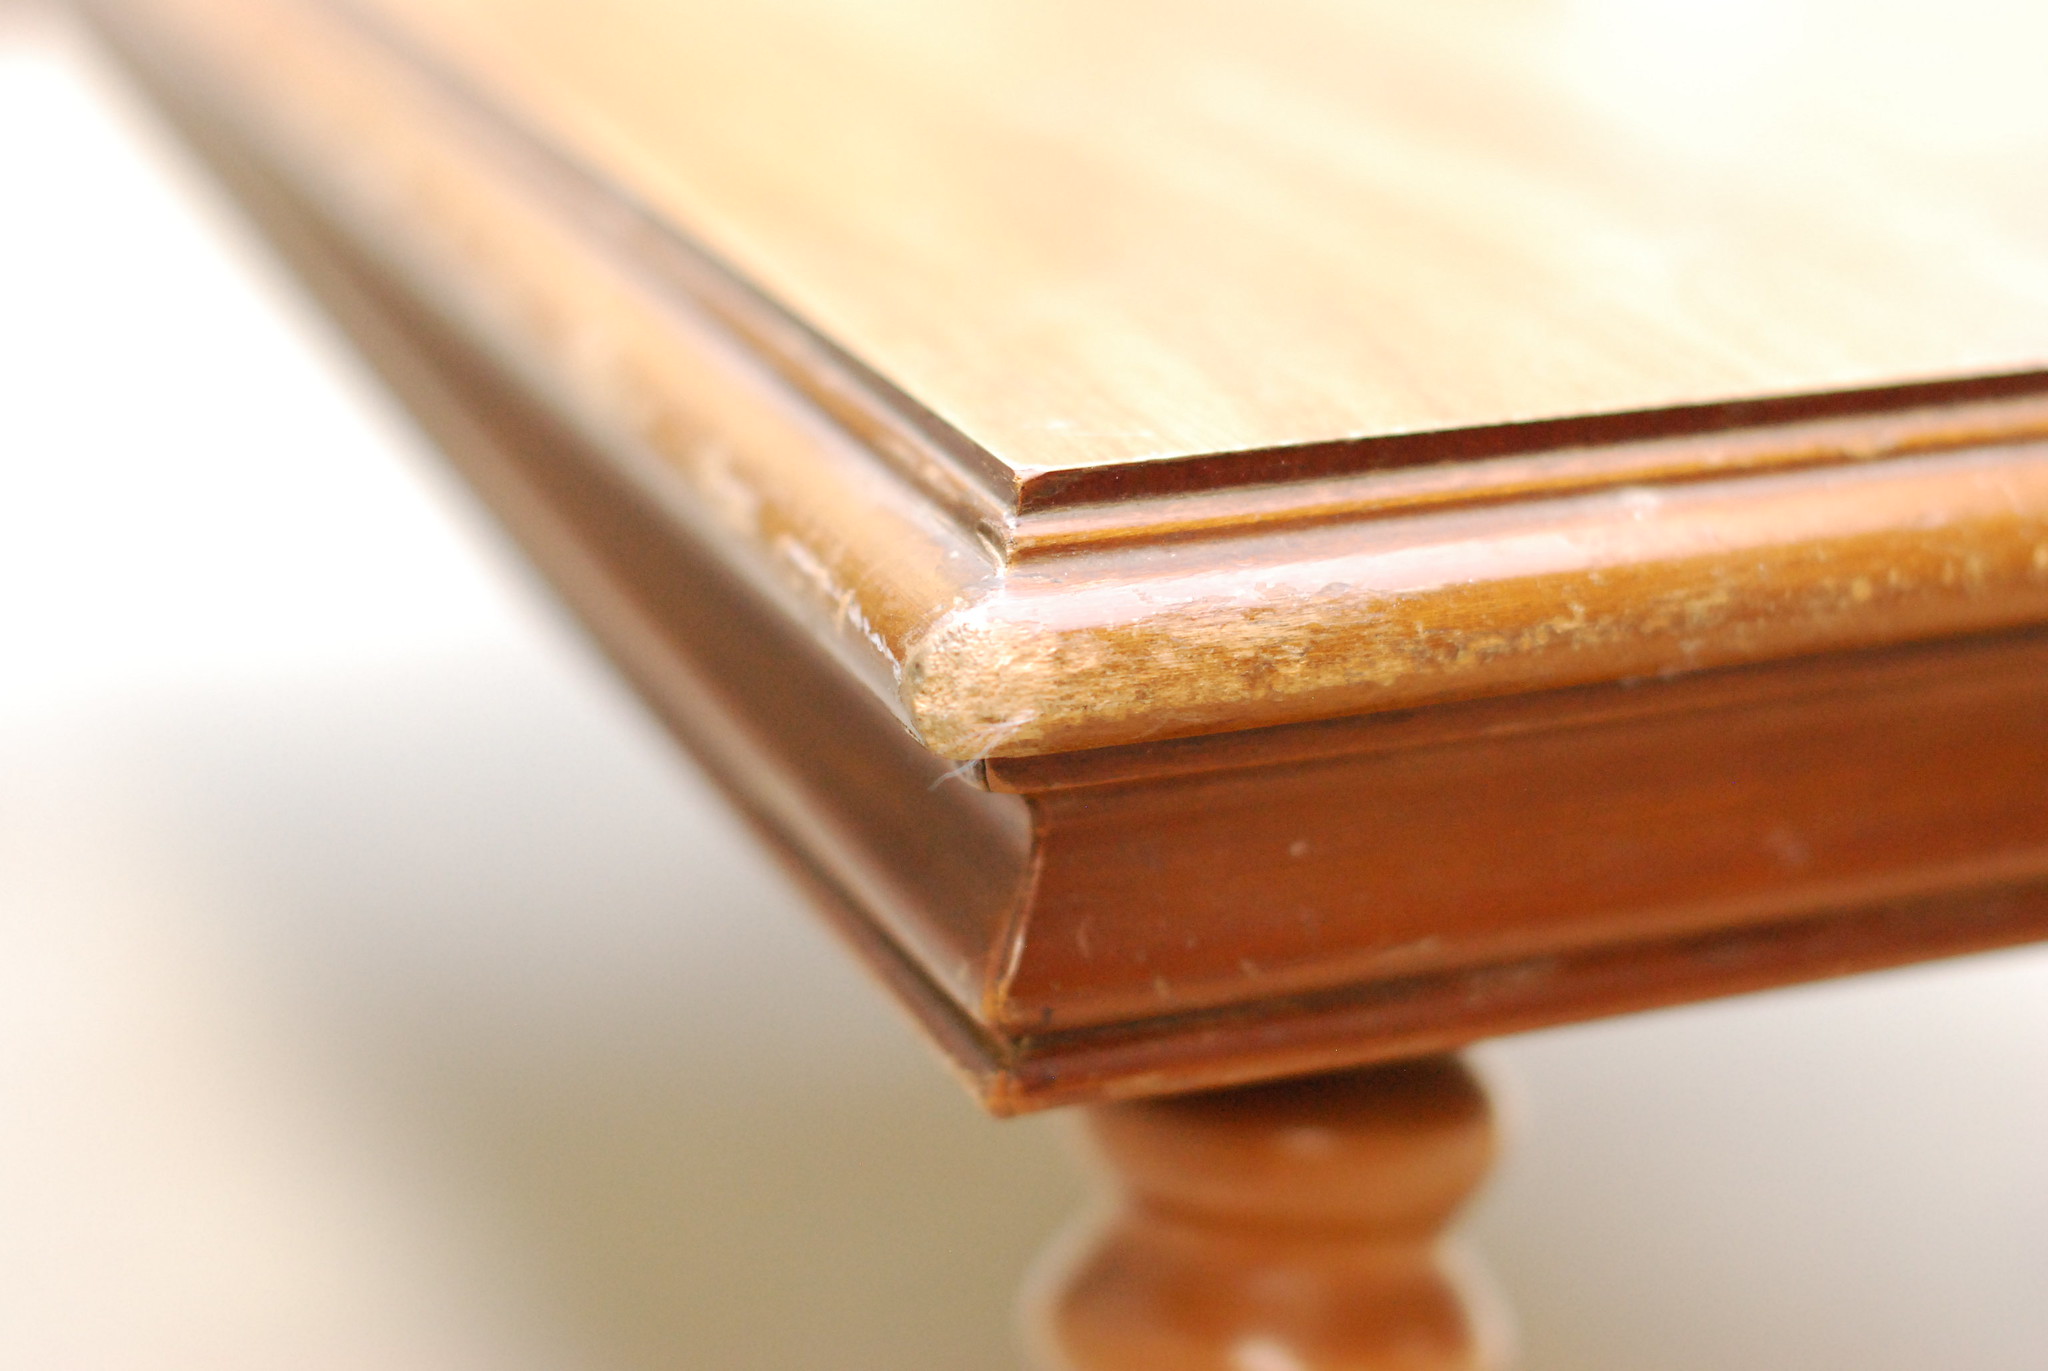
above, you can see pretty clearly the color, the amount of shine from the varnish, and how dinged and scratched it is around the edges. below is after sanding the best i could by hand (those grooves are really hard to sand), though the legs are not sanded yet.
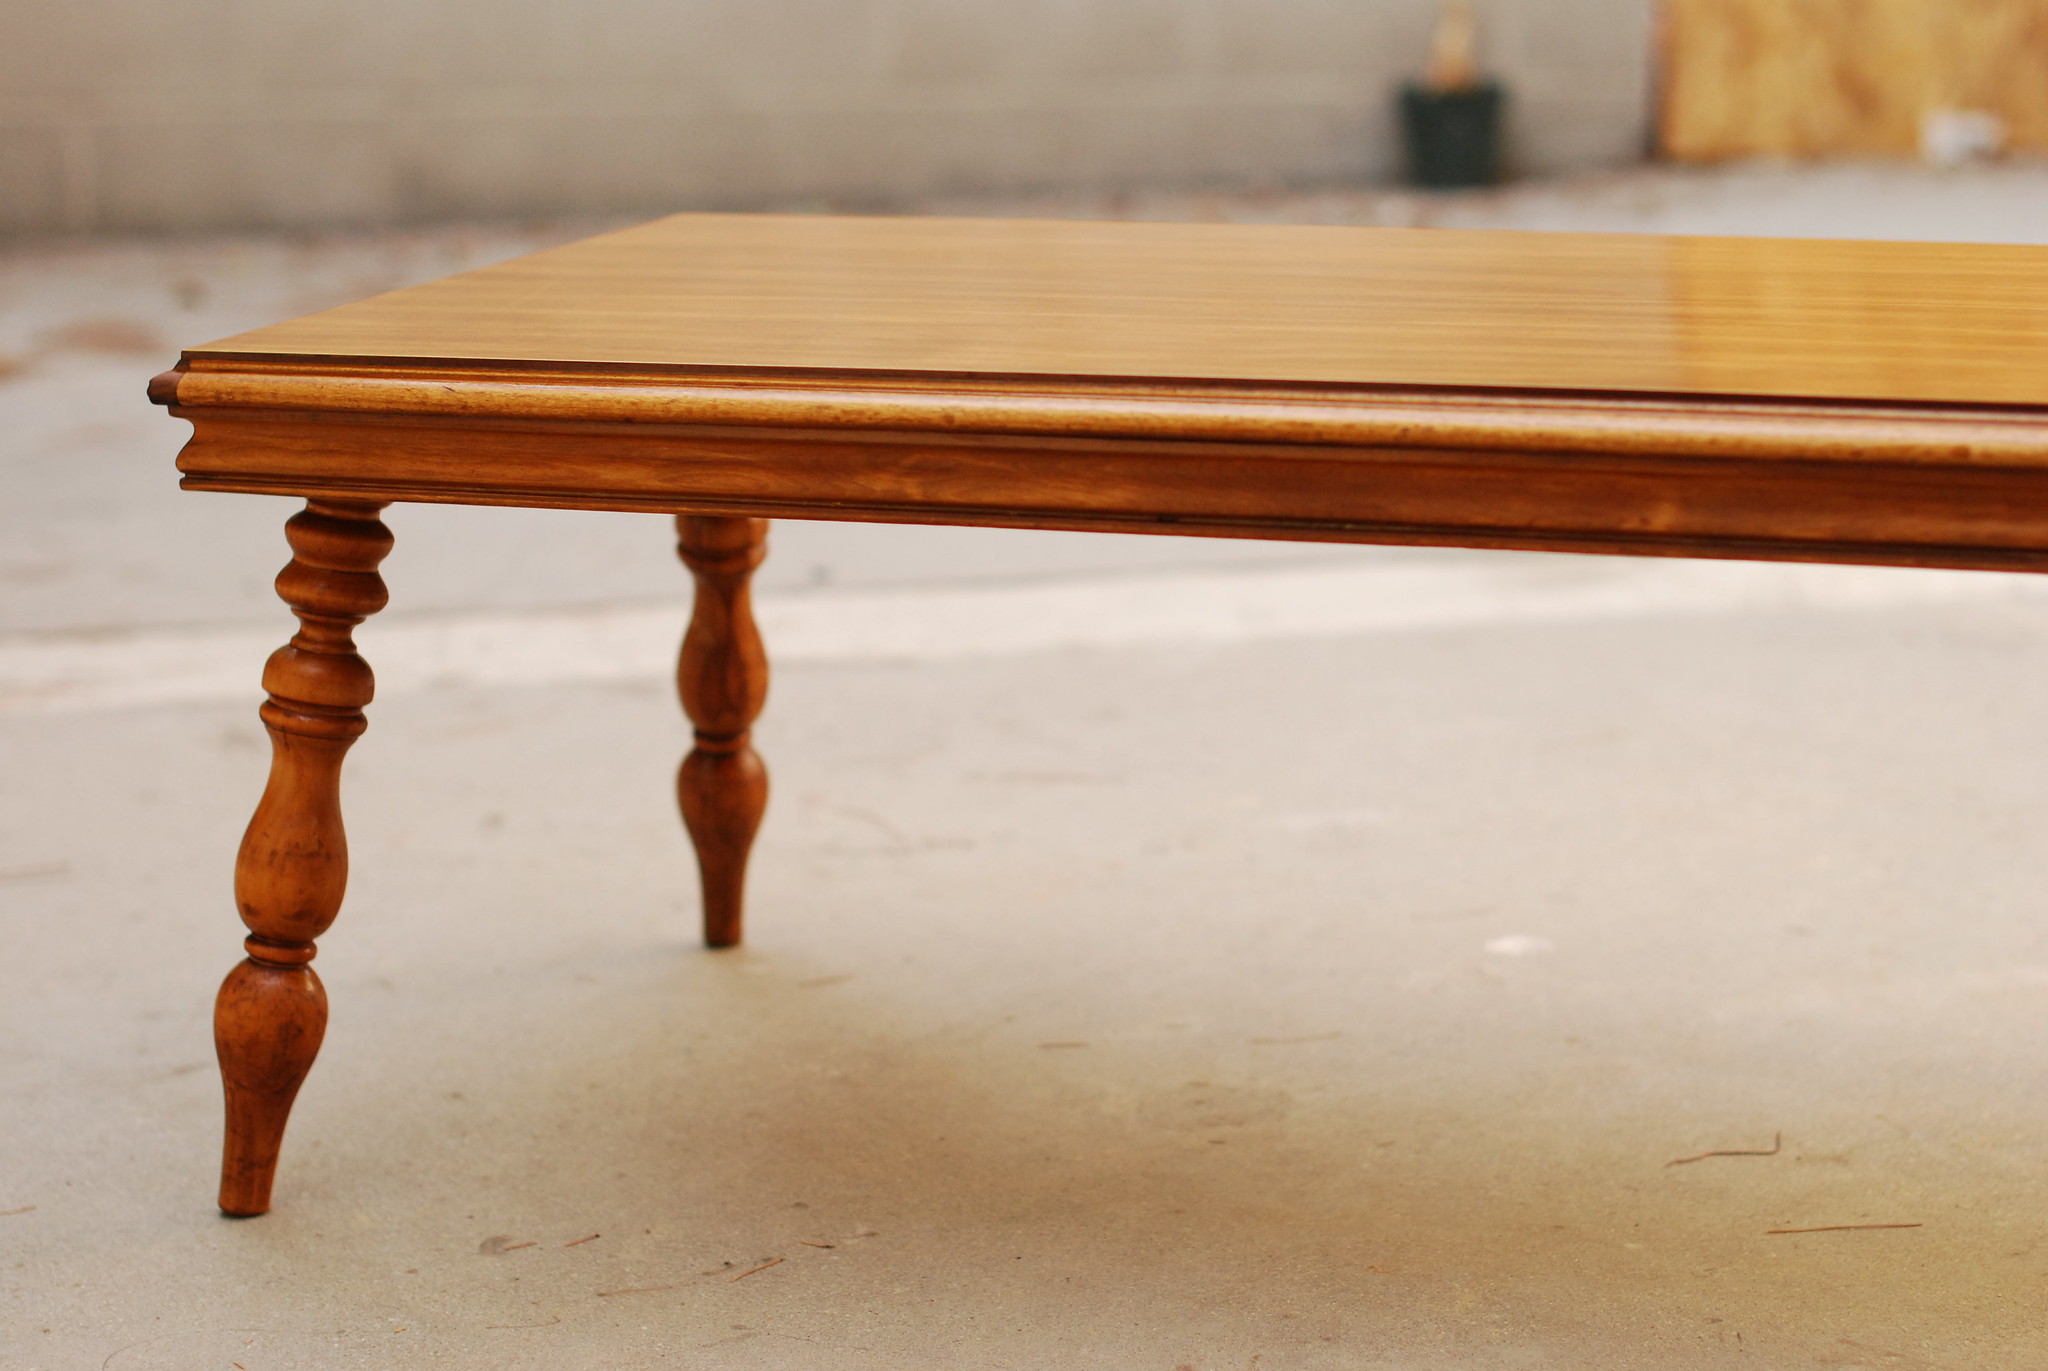
and the following is after the sanding/oiling/polishing is done. you can see that it's much more matte and dark overall, with the details in the wood really nicely brought out by the sanding and the danish oil.
so, now that that's been explained, let's start from the beginning! my feelings certainly won't be hurt if you skip the following details to the end, but i thought it was fun and worth (over)-documenting.
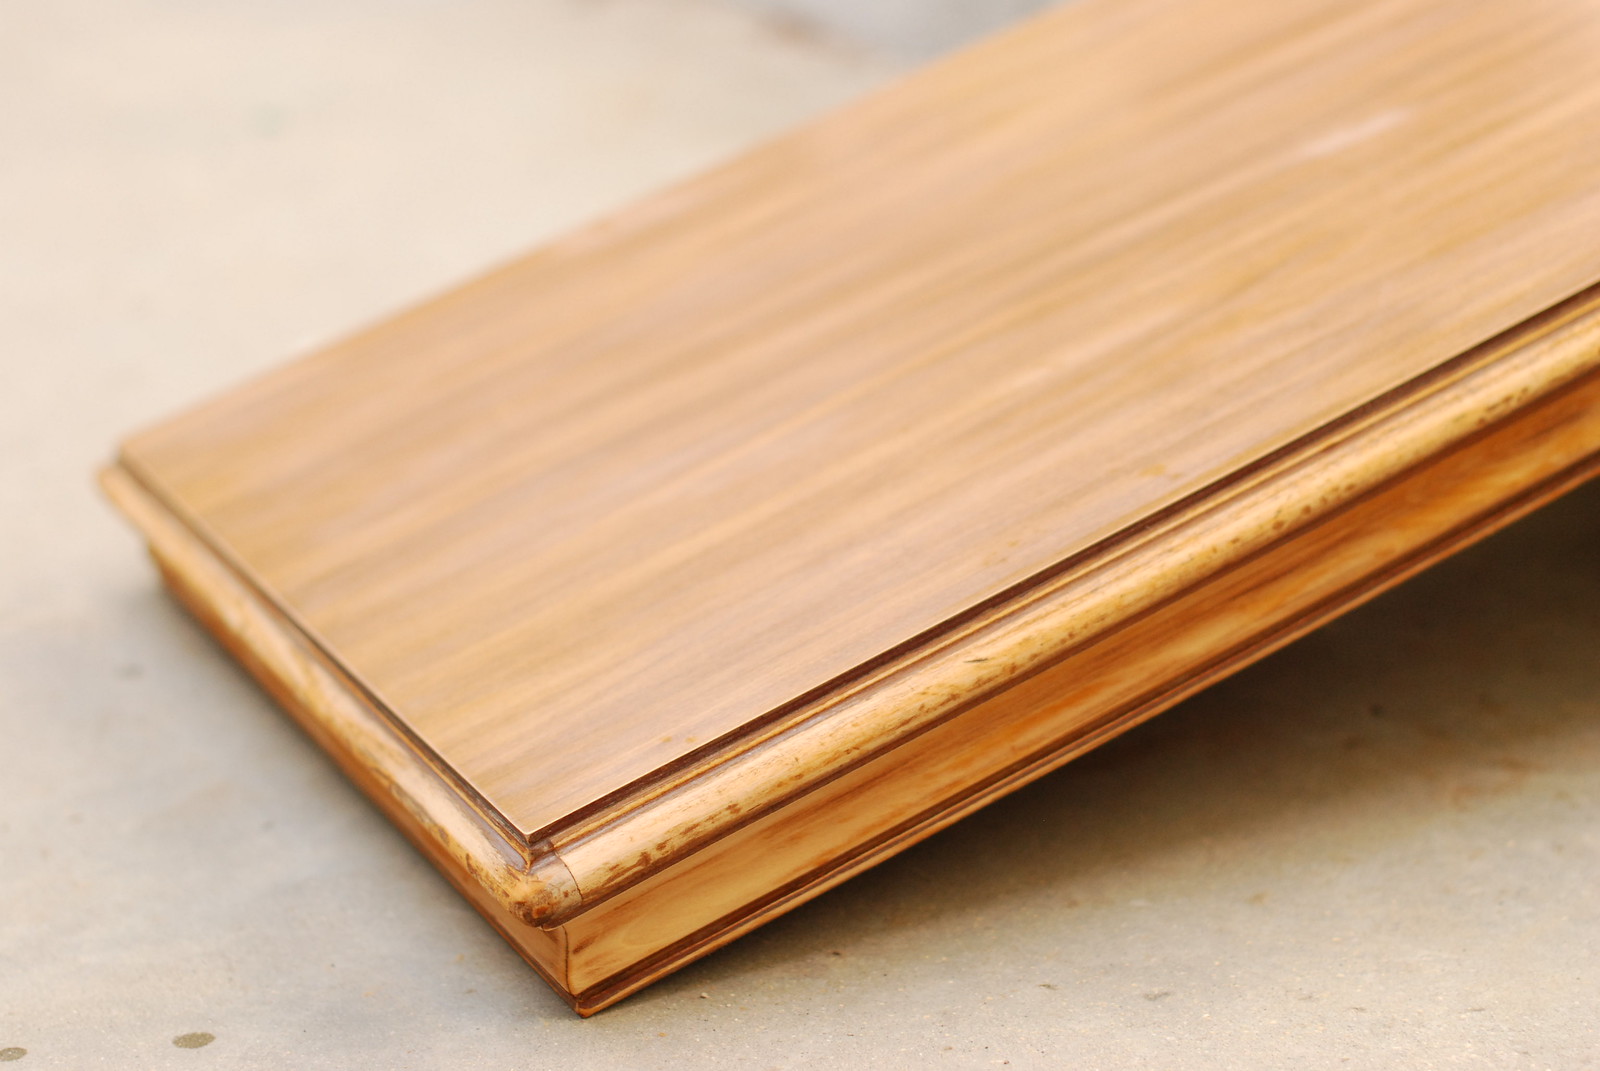
some more before shots that show the true condition of the table; did i mention it was missing any real feet? also, it should be noted that the very top layer of the table is veneer, so there was only so much i could really do with it until we find the time (and the skills!) to make a new top entirely.
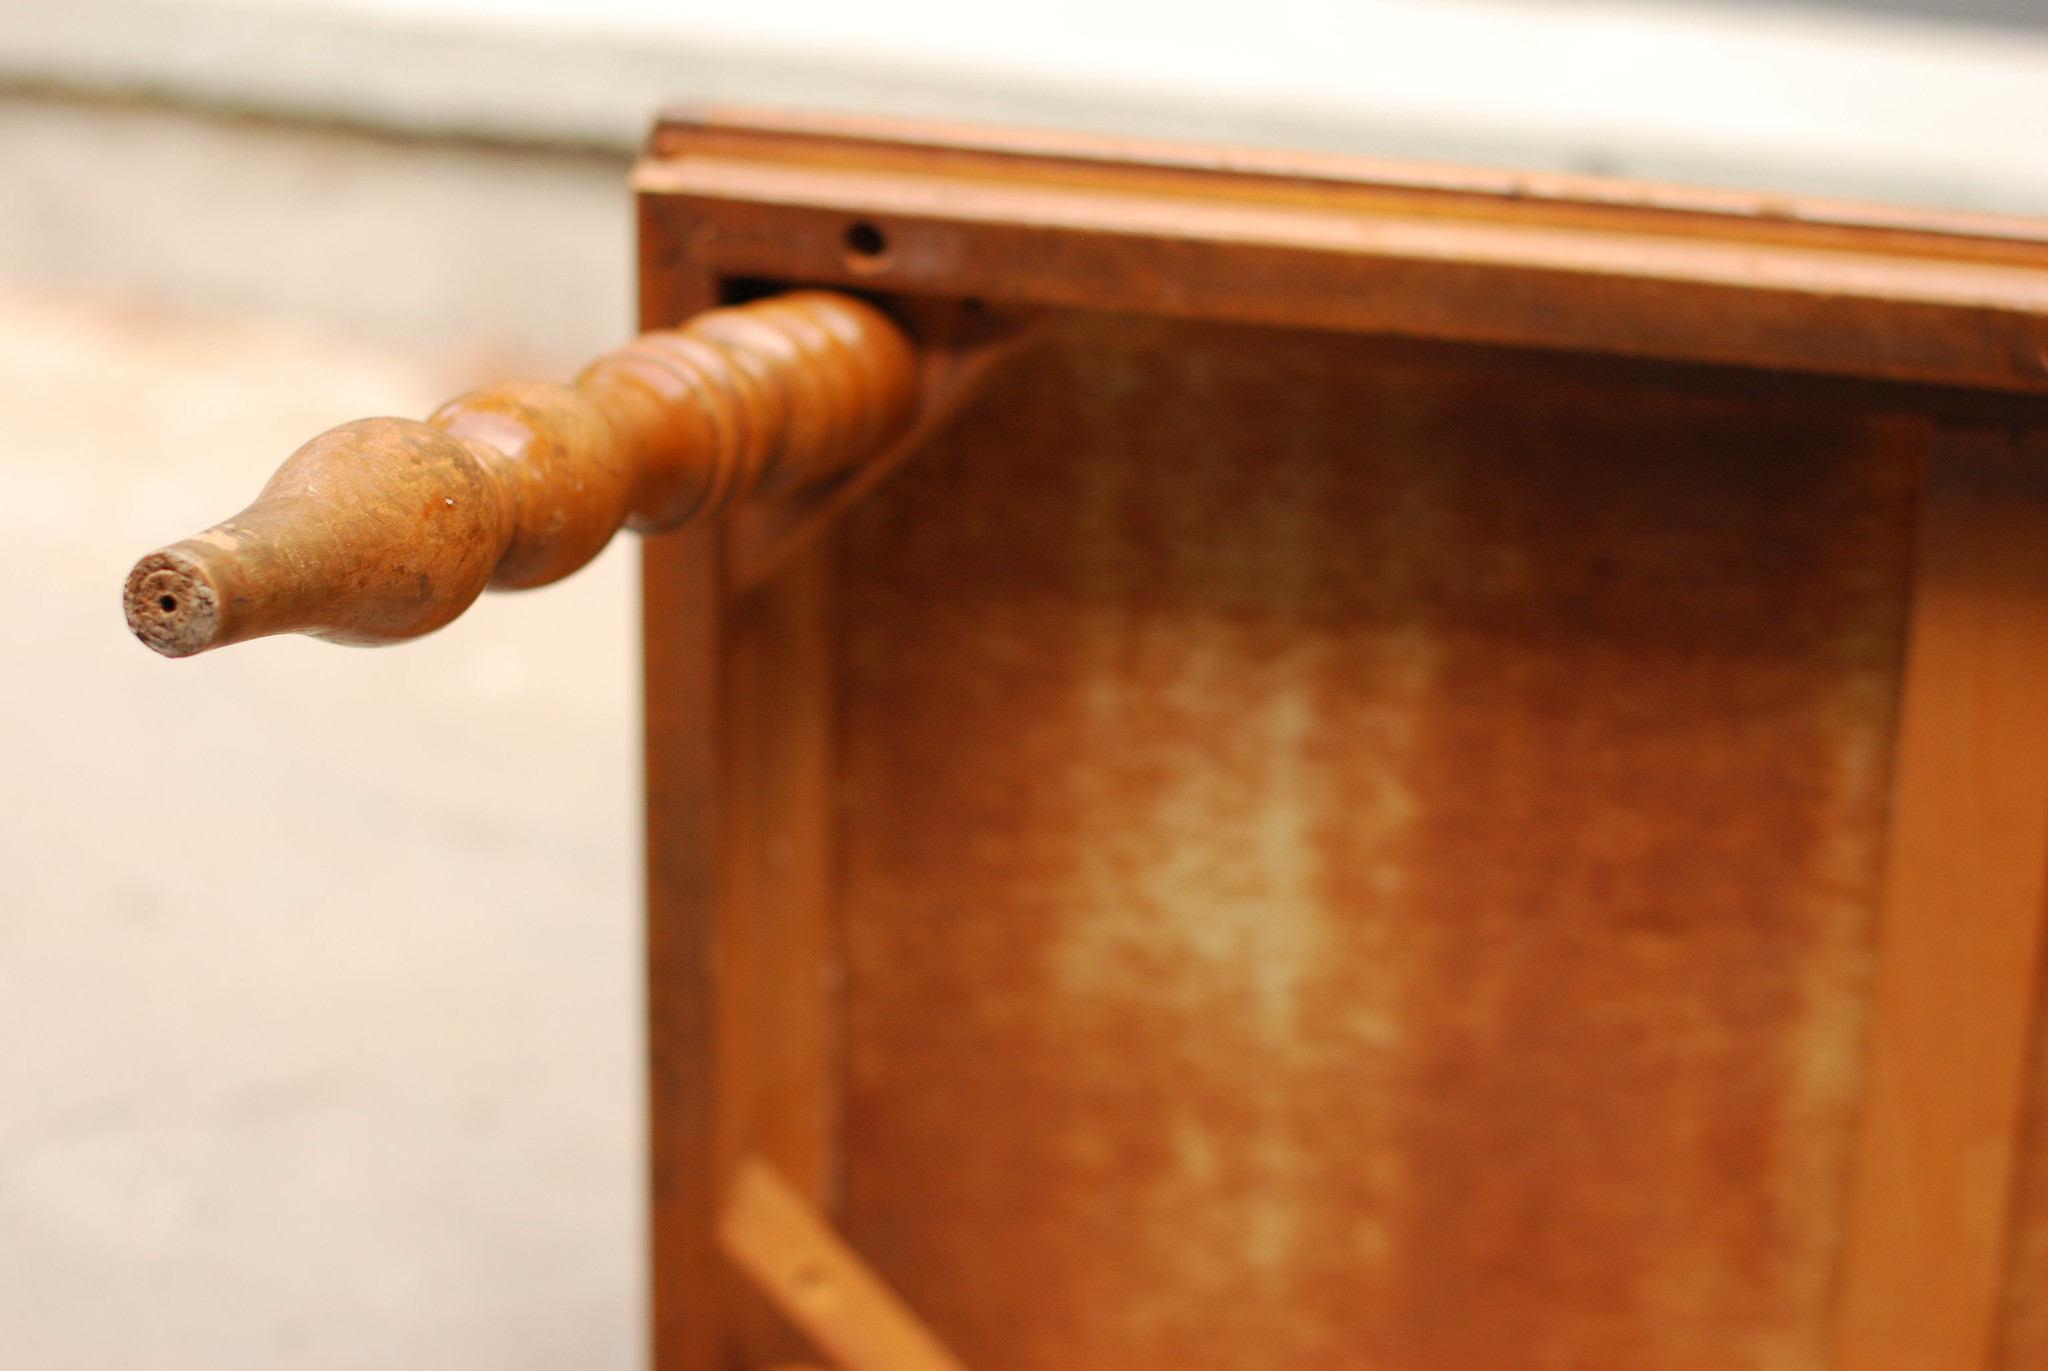

certainly seems like it's been through a lot, with all the scuffs everywhere, and i have a feeling at least one of the previous owners had a dog who enjoyed chewing on furniture.
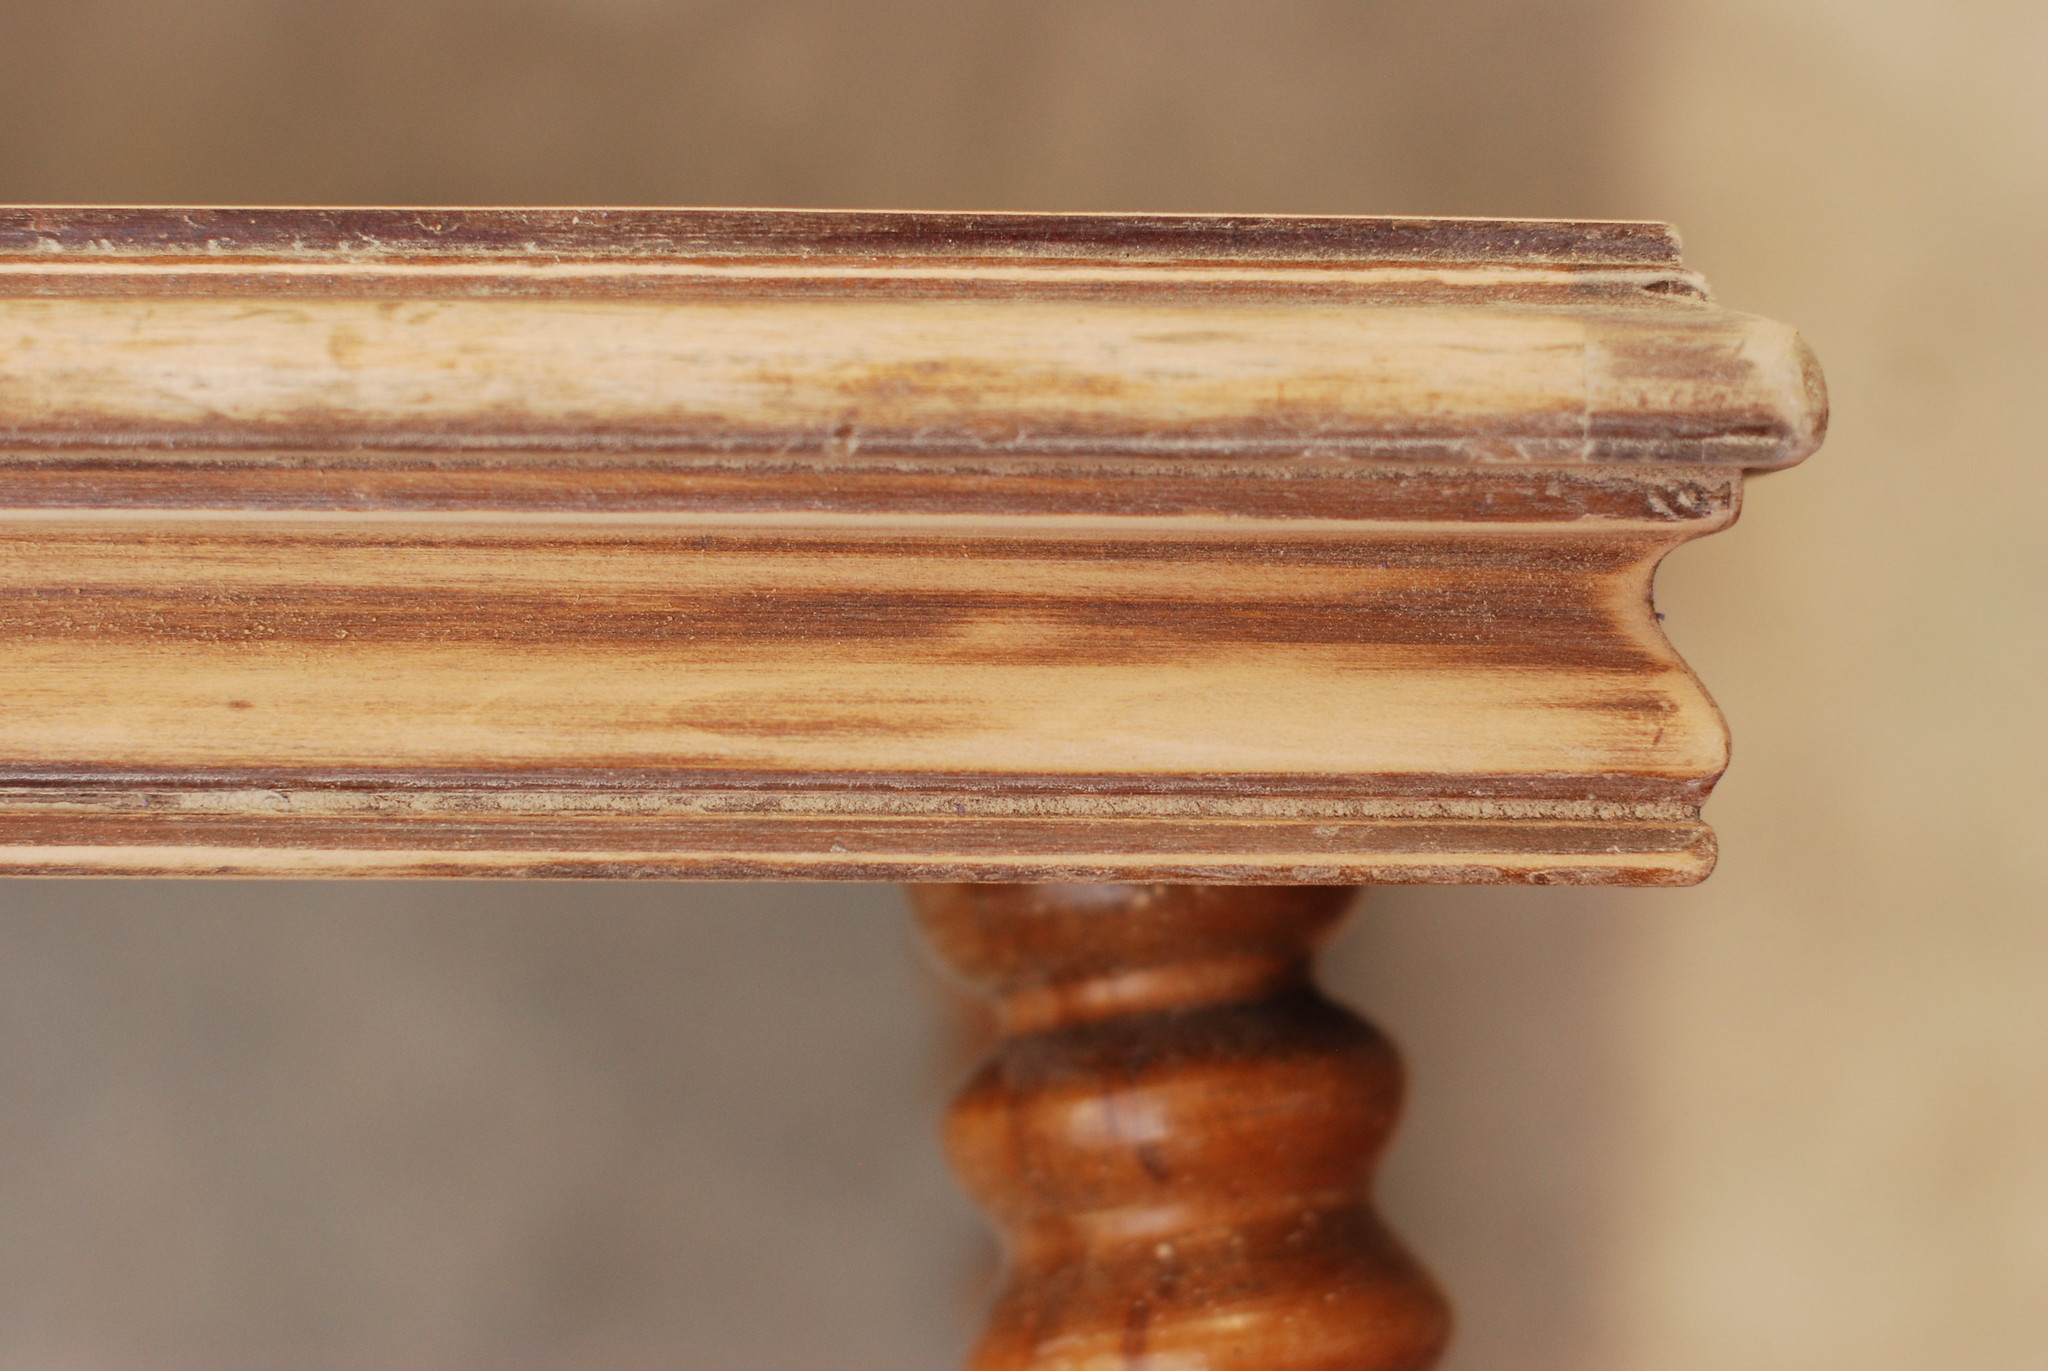
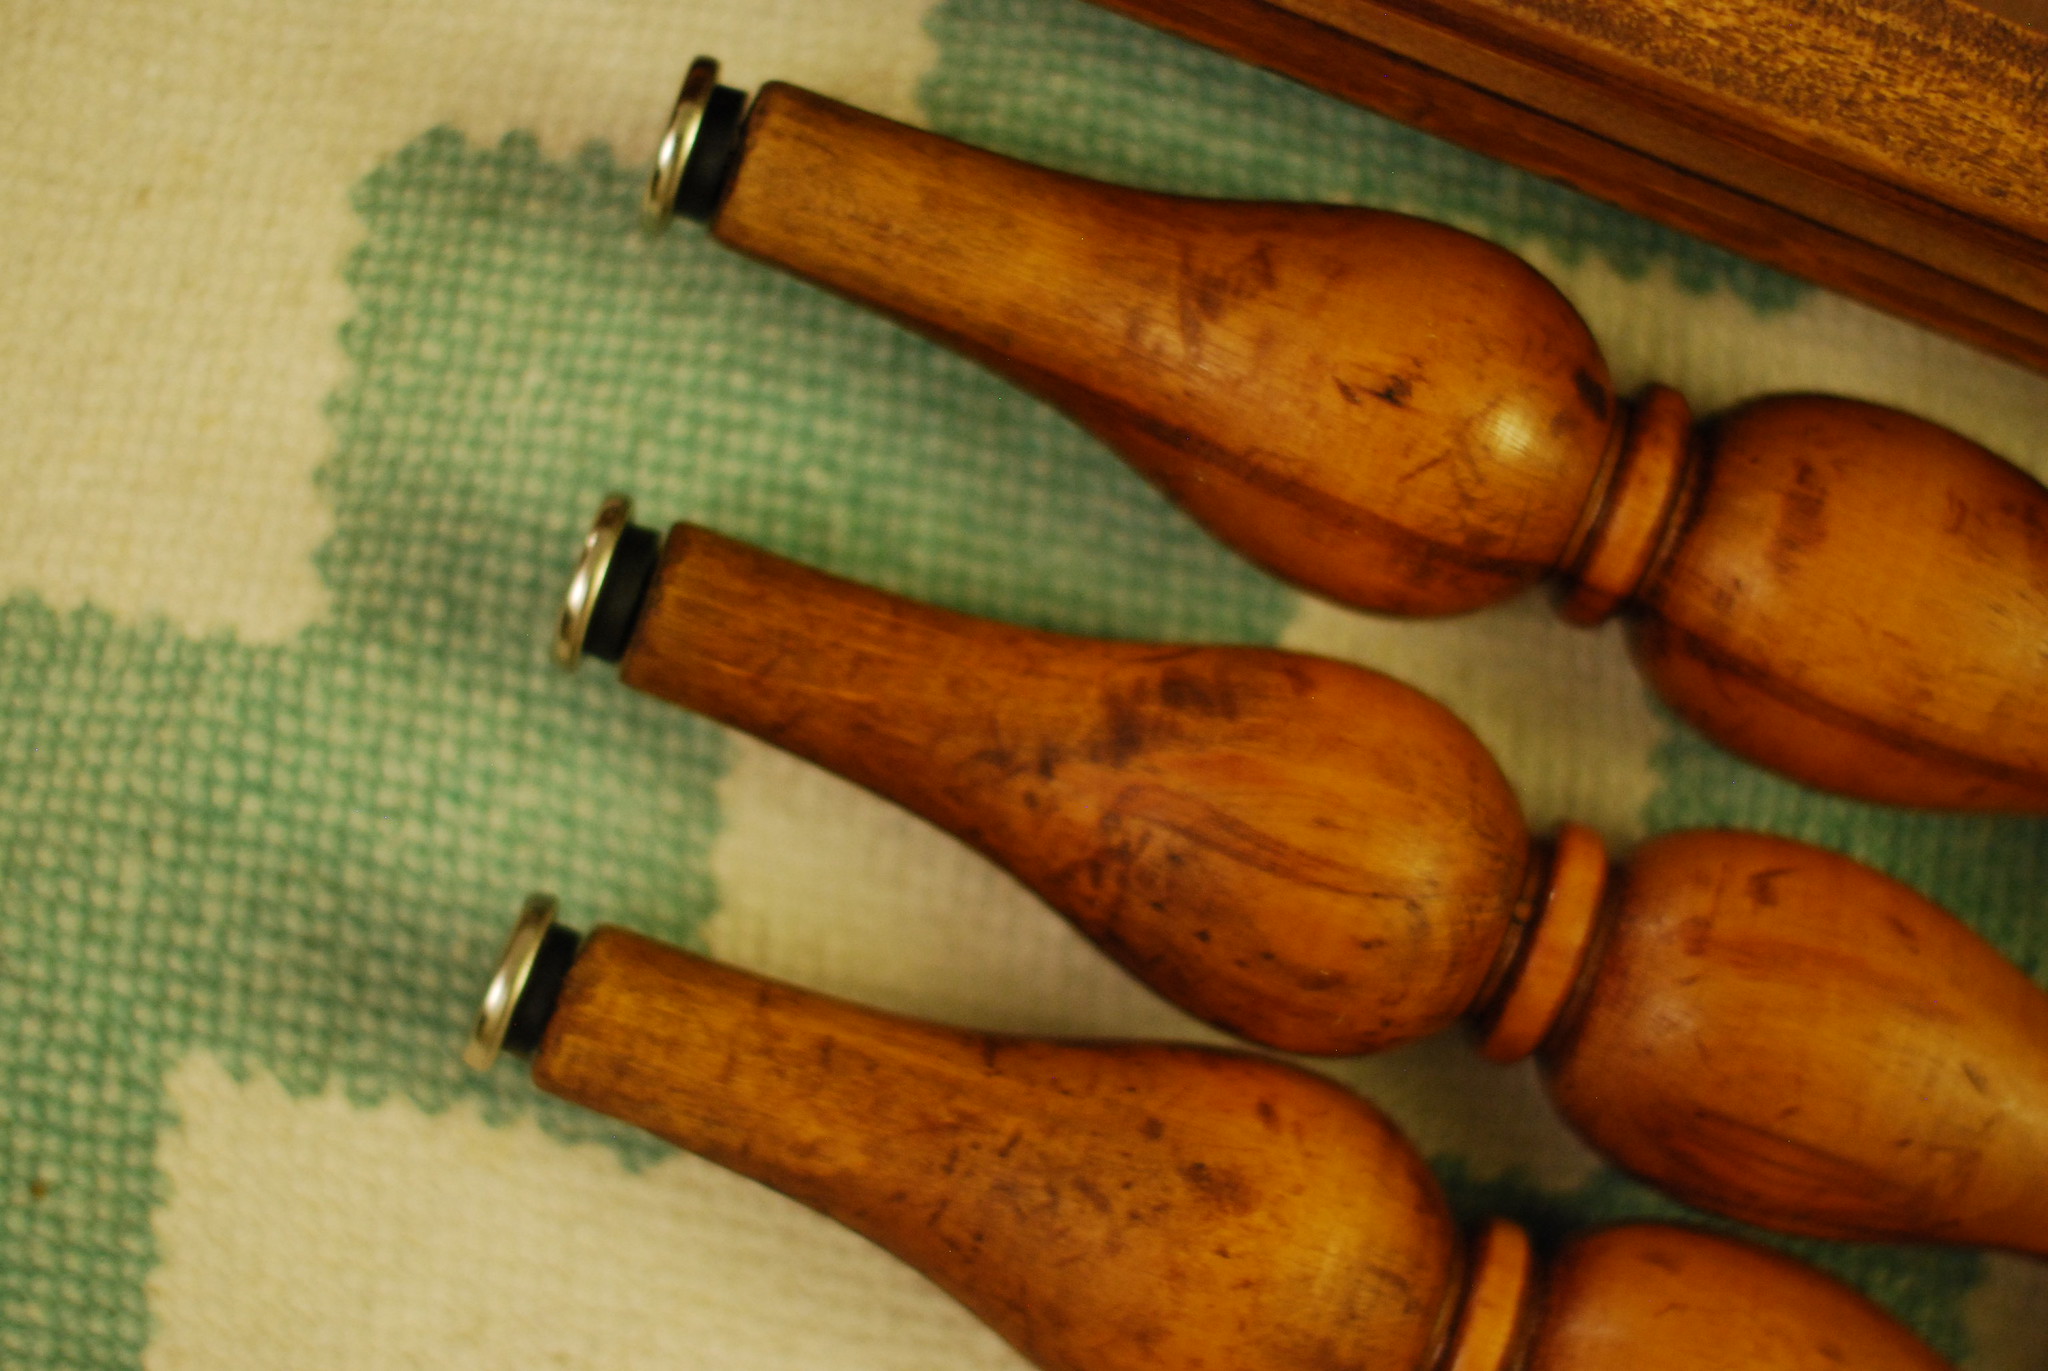
here are the table end and legs after sanding and wiping down with a wet rag to clean up any dust:

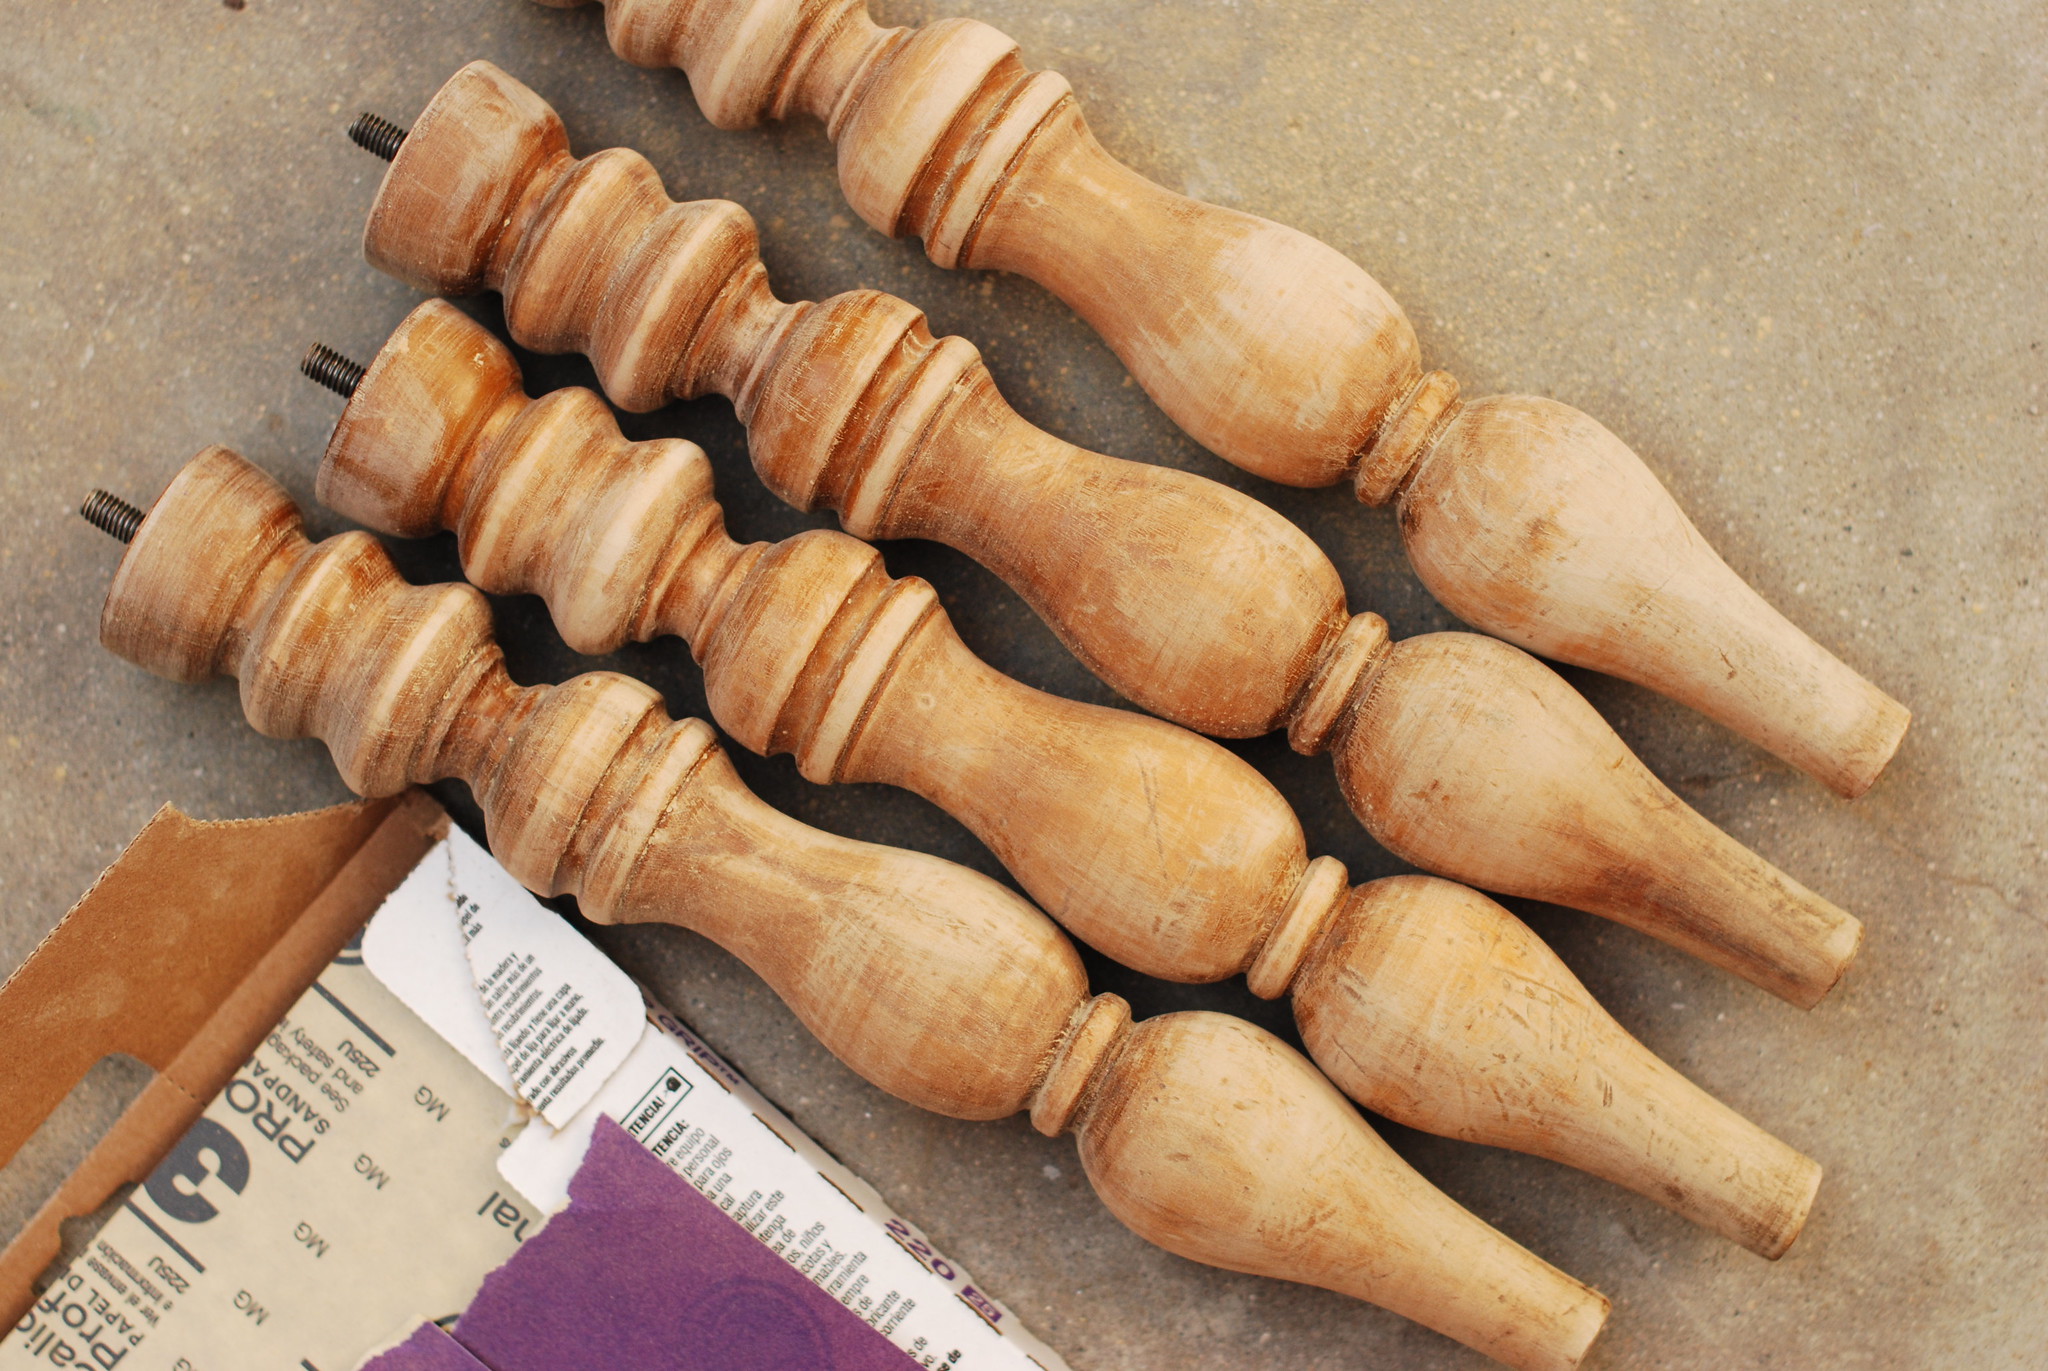
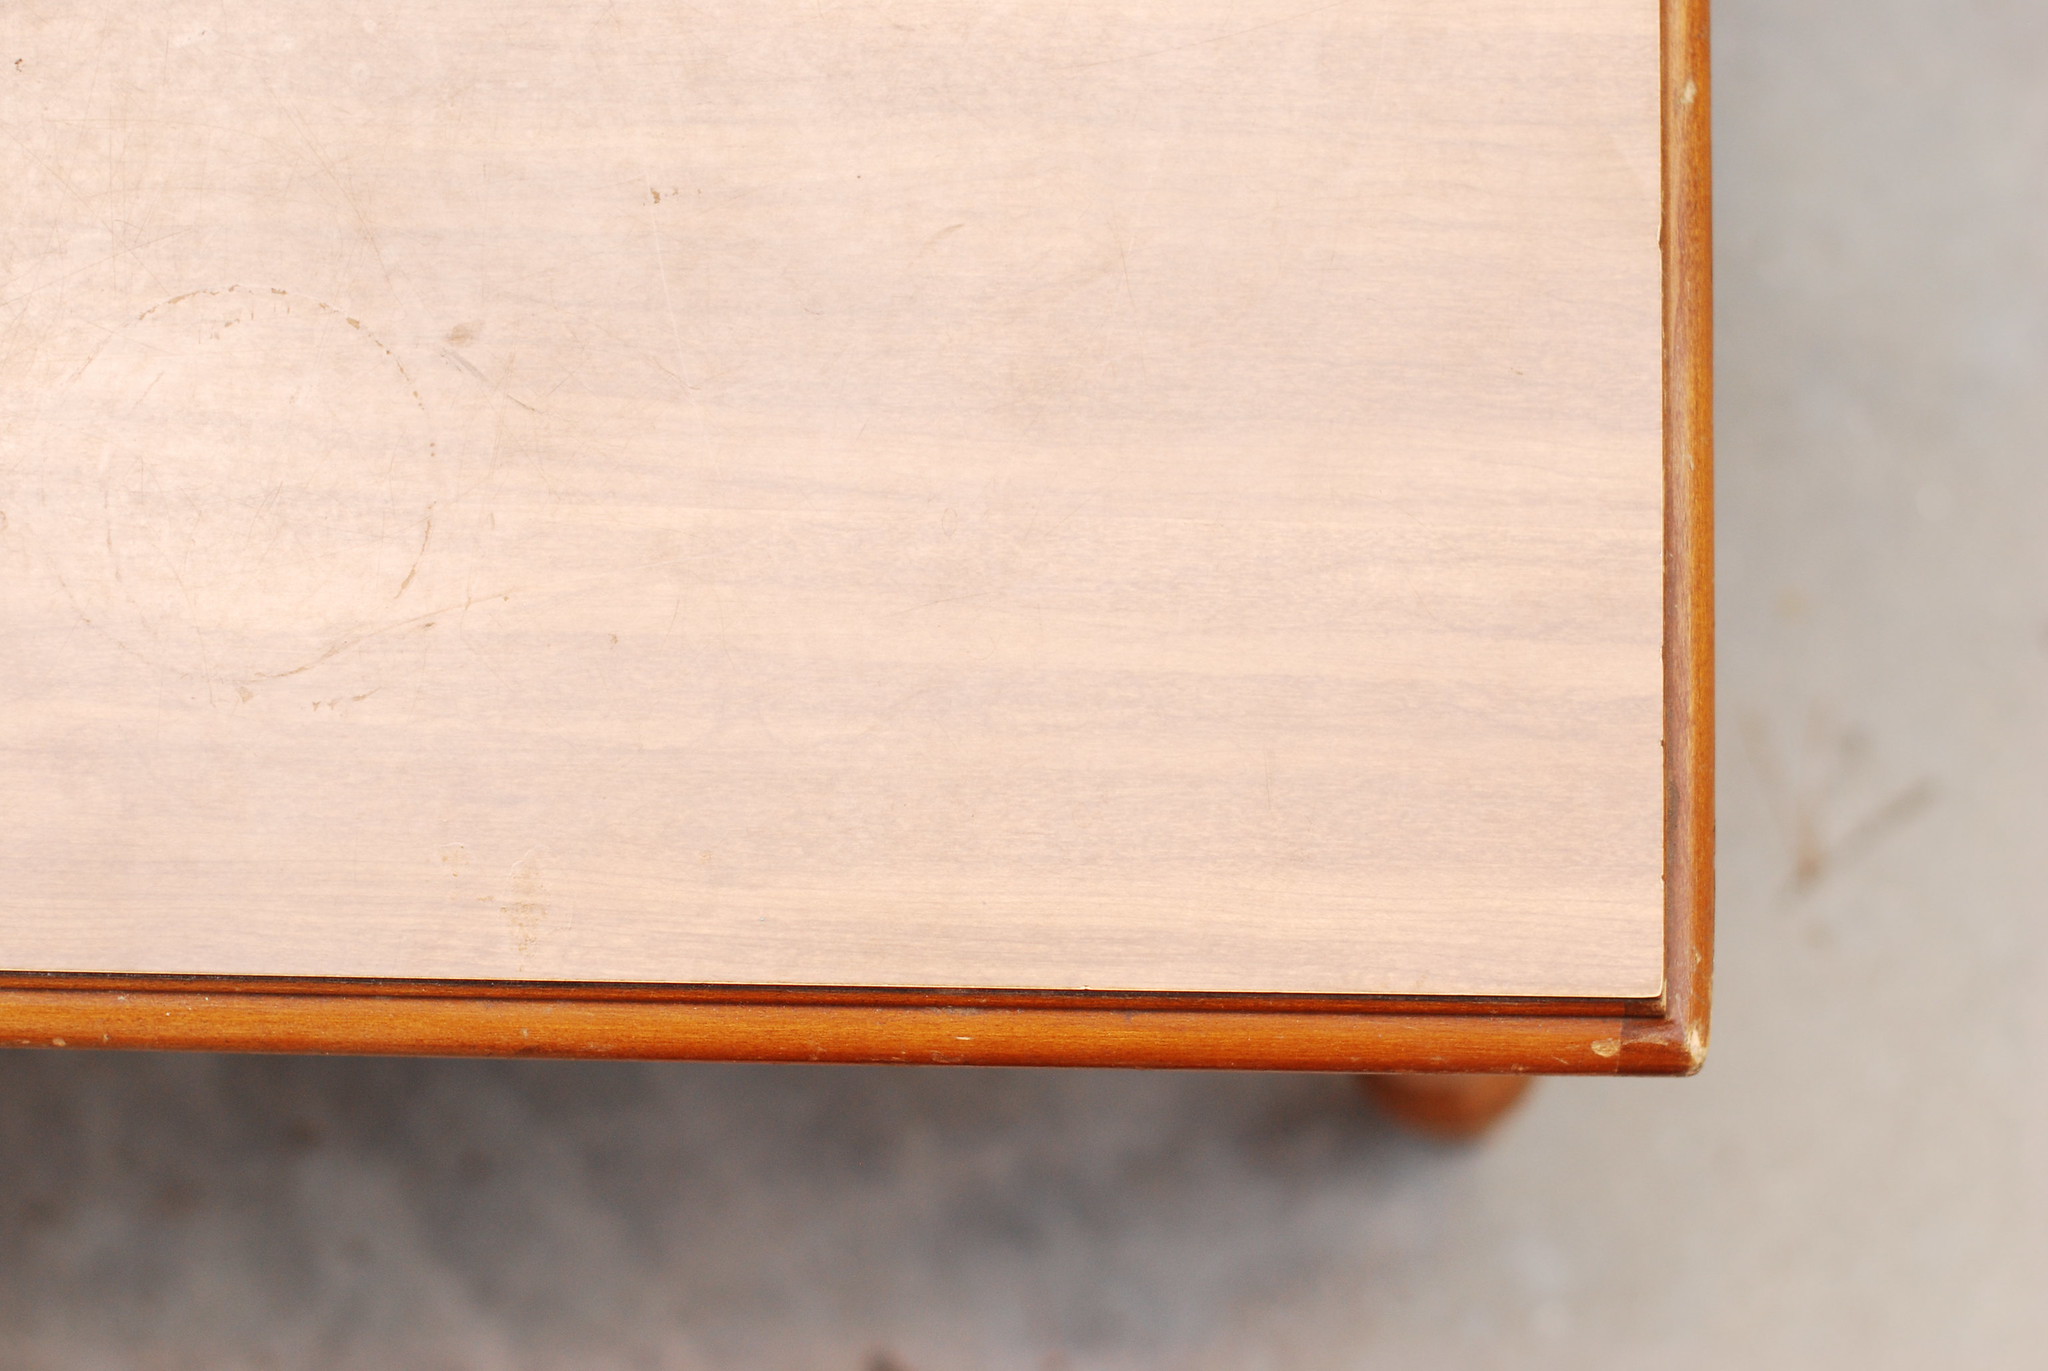
everything but the veneer top got a heavy sanding to remove as much as possible; the veneer just got a gentle sanding to clean it up a bit and give it some grit. the wood actually picked up a nice color after i used the murphy oil soap to clean it all and i was really tempted to leave it as is, but it was just too different from the veneer. plus, without some sort of finish, the wood would have been completely unprotected.
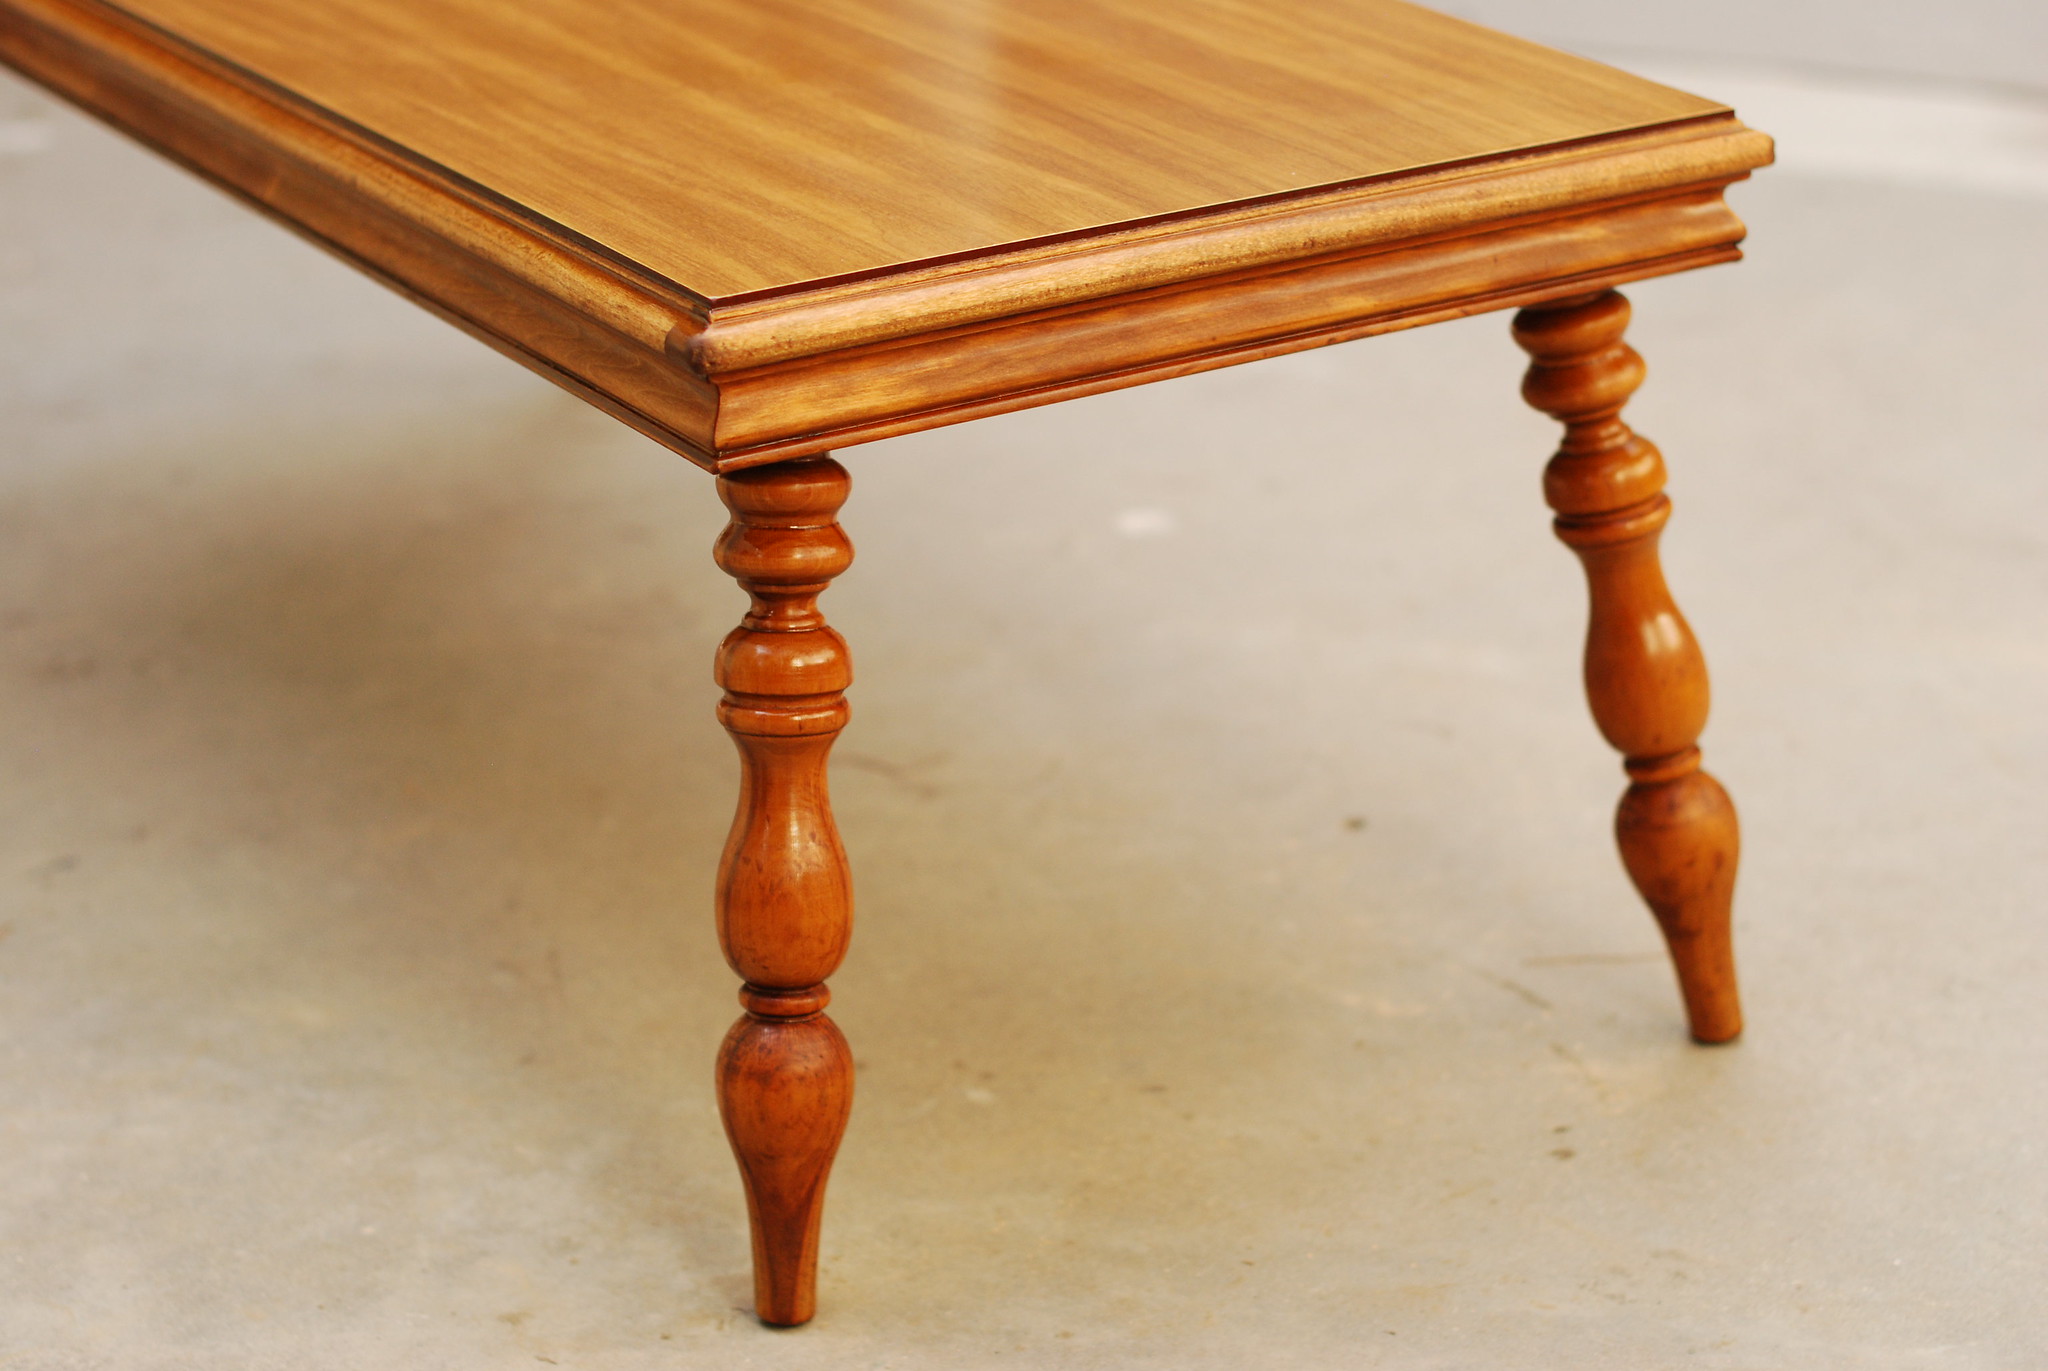
and finally, with the danish oil (we bought it in dark walnut) applied, which just instantly brought out so many details in the wood. definitely an exciting moment! i was also excited that it worked well enough with the veneer, which i had been worried wouldn't really soap up the color of the oil. and while it's not perfect, it really did pretty good.

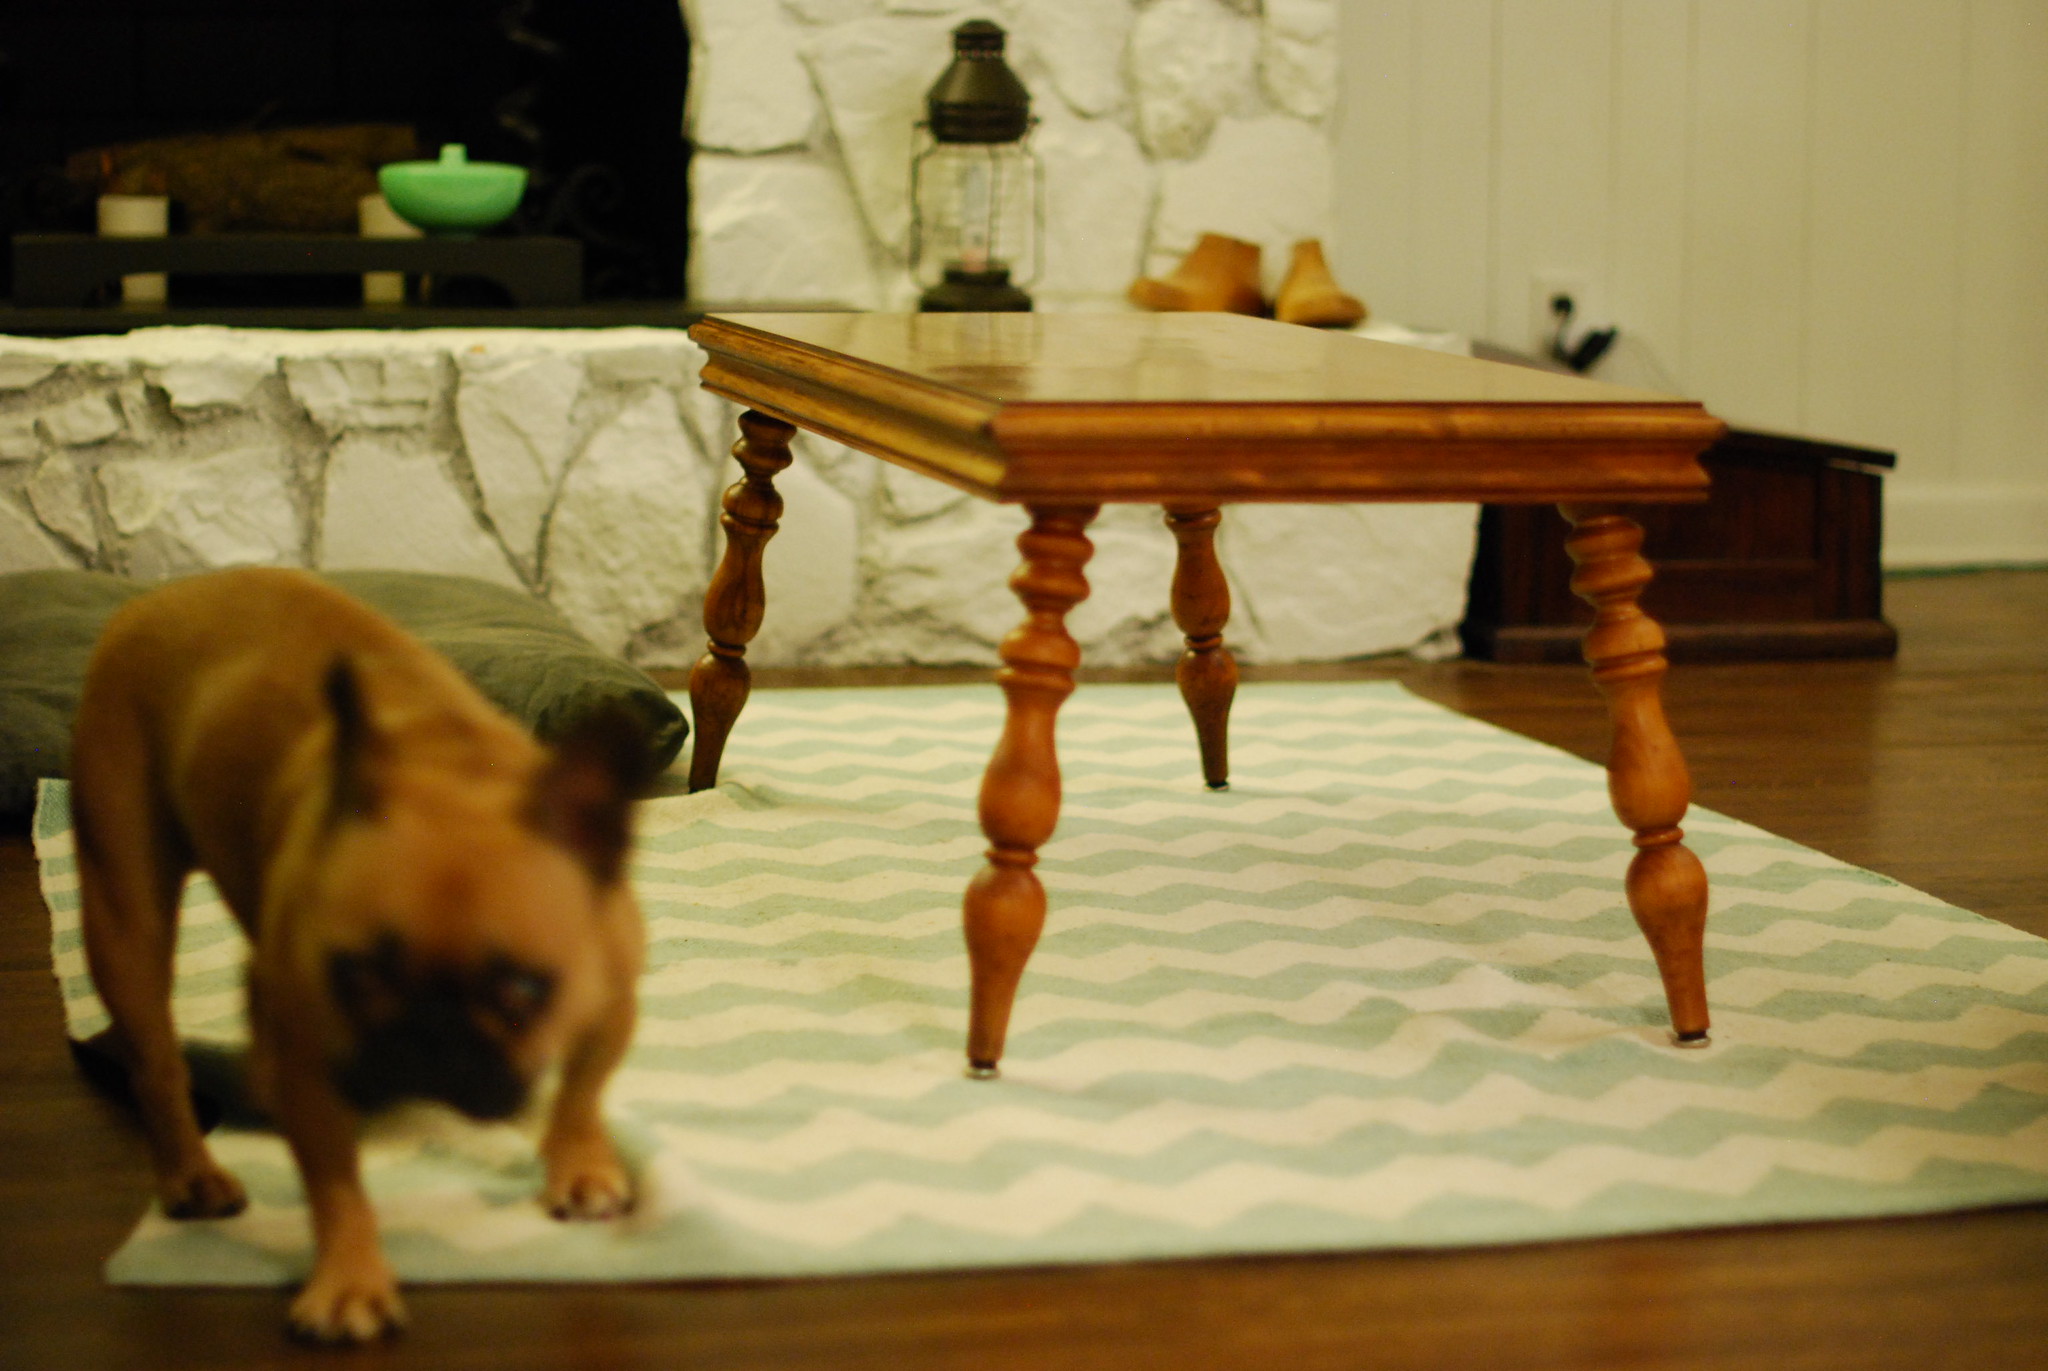
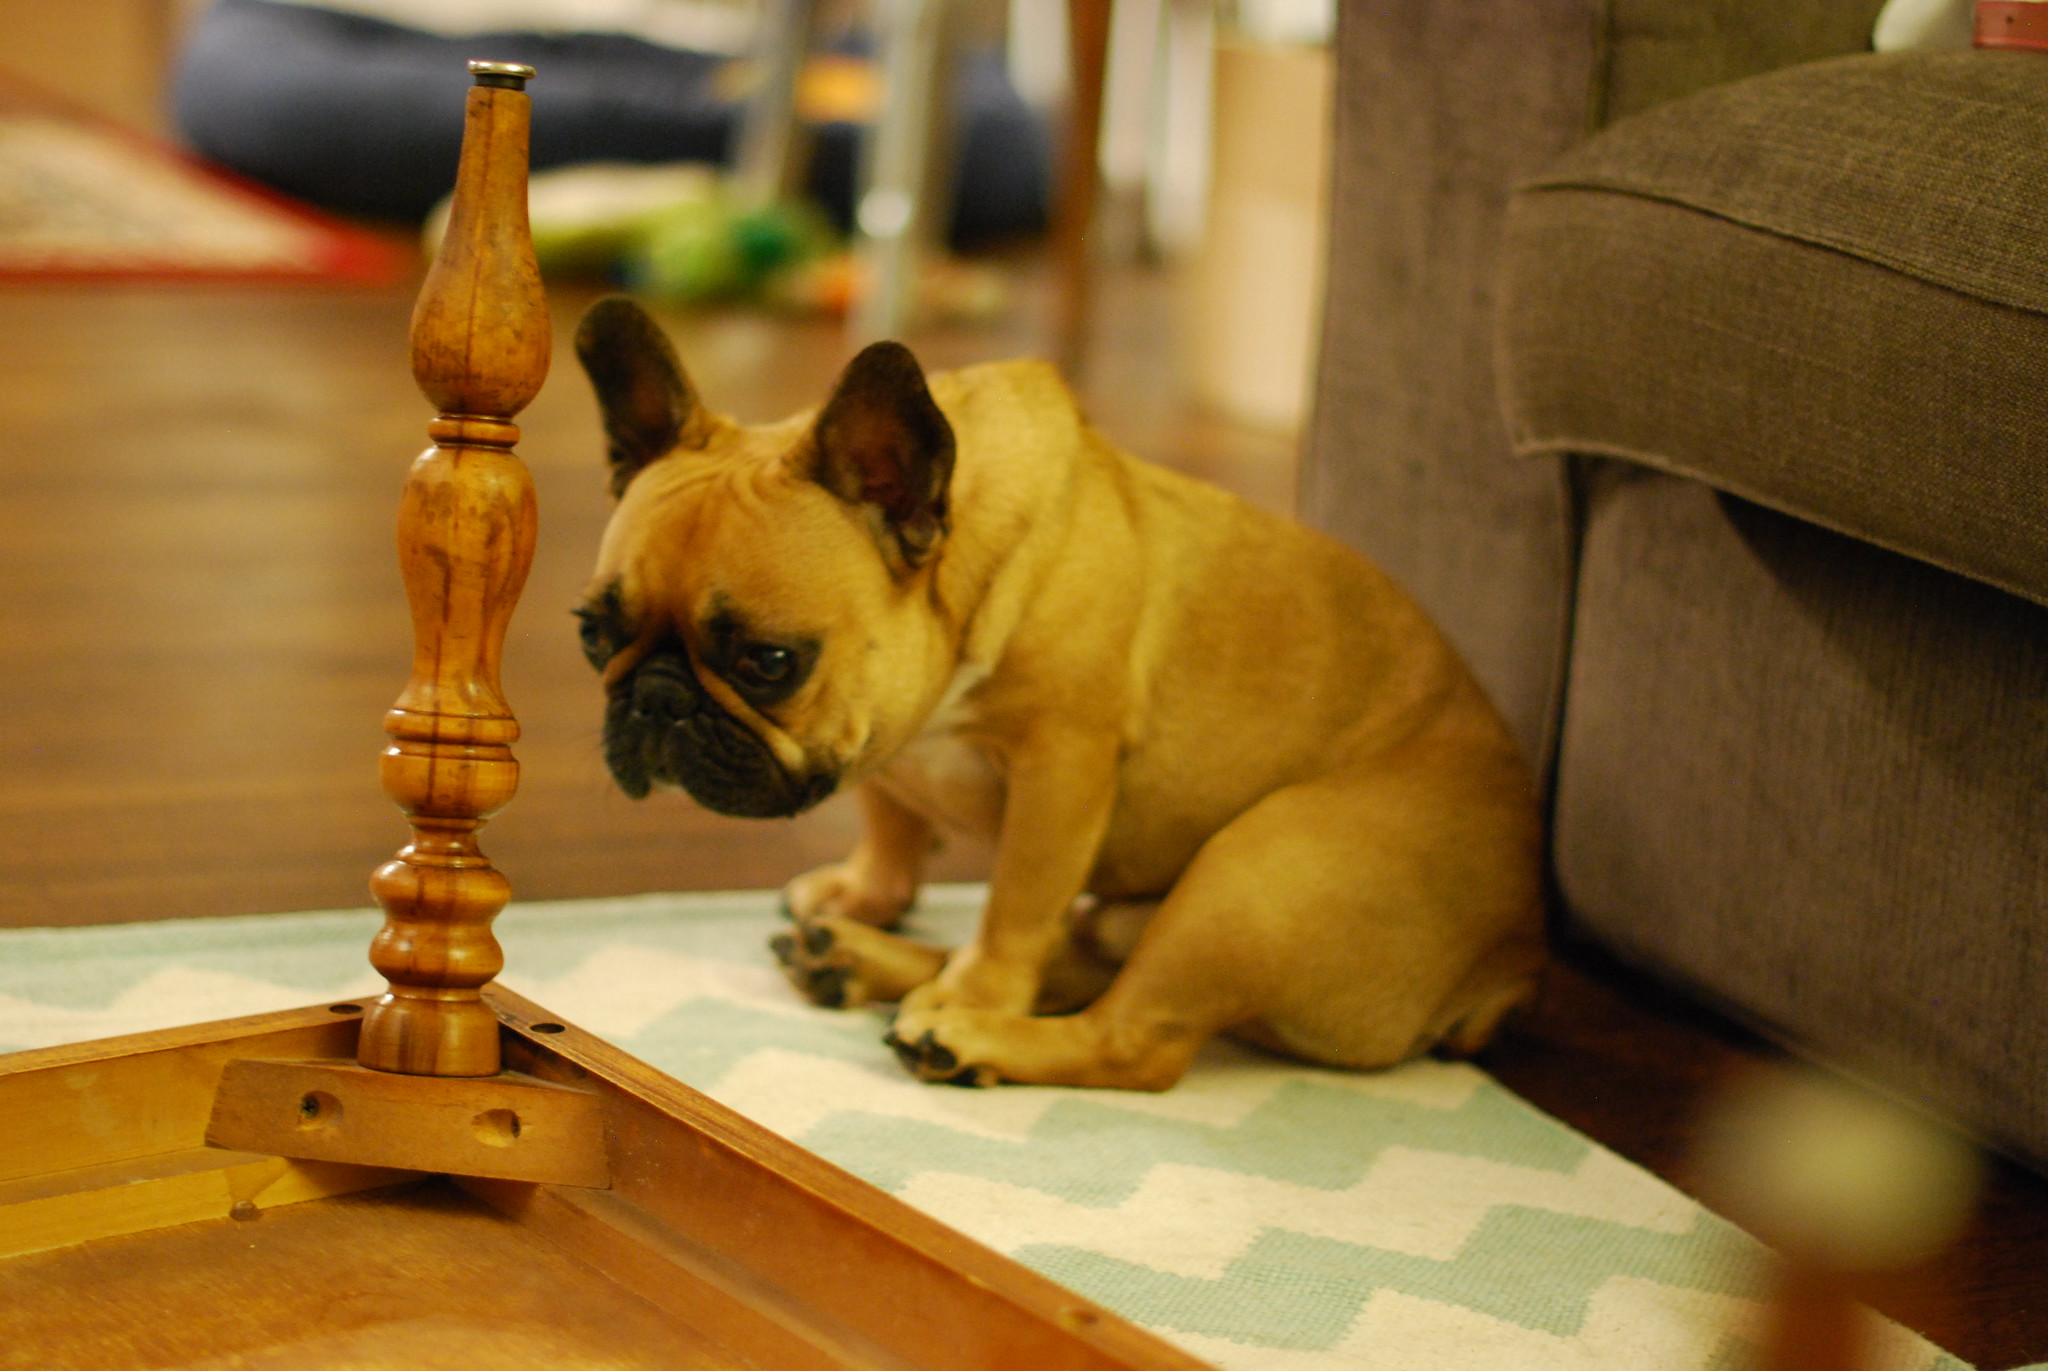
and here it is in our living room! i still need to attach the little furniture feet we bought to the legs, they just hammered into the bottoms (we did pre-drill) so it was super easy. and obviously, once we got indoors, sanford had to get in on the action and inspect our work.

anyway, that's it! the table went from being a decent convenience, to a piece that i really love inside our living room. it feels darker/warmer than the indoor photos really lead you to believe, without being as dark as, say, our dining table or our floors.