the arrival of the doors.
jenn pan
bright and early this morning, our new front entry door, back entry door and interior shaker door were delivered! this post is really more of a sneak peak than anything..

james sizing up the delivery truck.
now we have to wait until our contractor has time in his schedule to come by and actually install them - he's busy at the moment, so it won't be for another month or two!! i am very upset about this, as this project has already been almost six months in the making, but that's another story entirely.

how gorgeous are these doors? laying horizontally is the interior door for a new interior wall we are going to put in. we will eventually be replacing every interior door in the house with one of these. the upright one with the sidelite is the back entry. behind it, that you can't see, is the front entry. which is a bigger door without a sidelite, and an additional dentil shelf. none of the doors are stained yet, so we still have to figure out what the stain will be. i'm thinking something dark, but not-too-dark, and warm, but not-too-warm. that's descriptive enough, right?
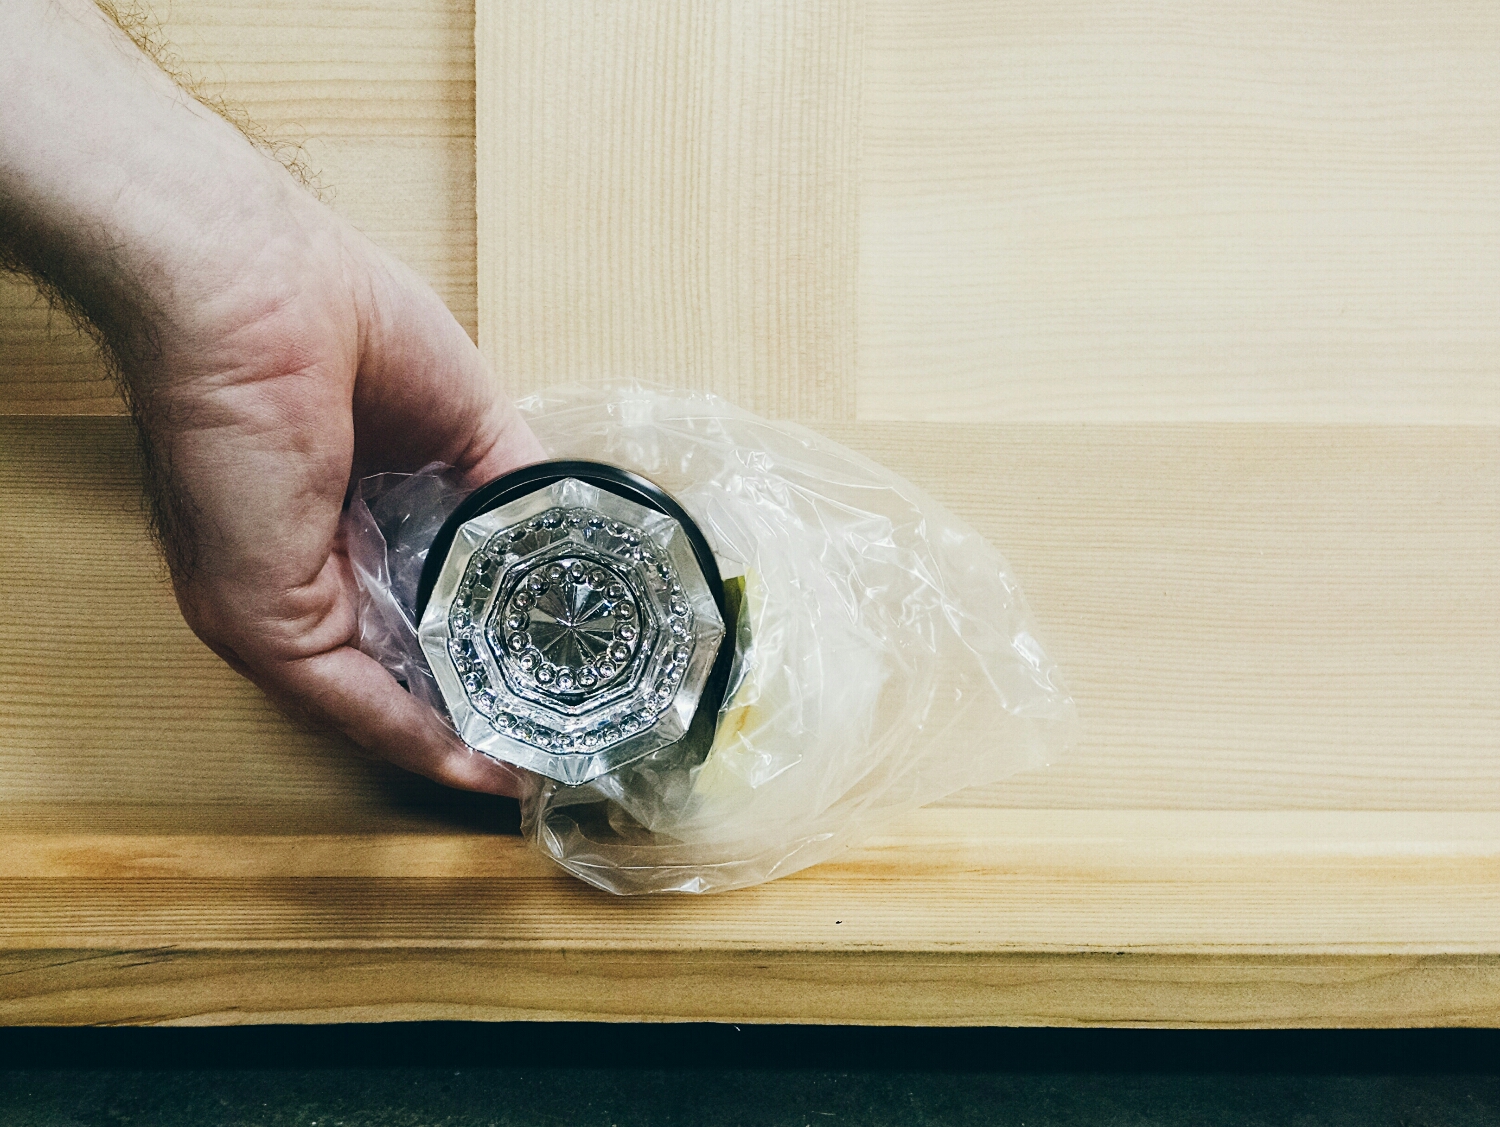
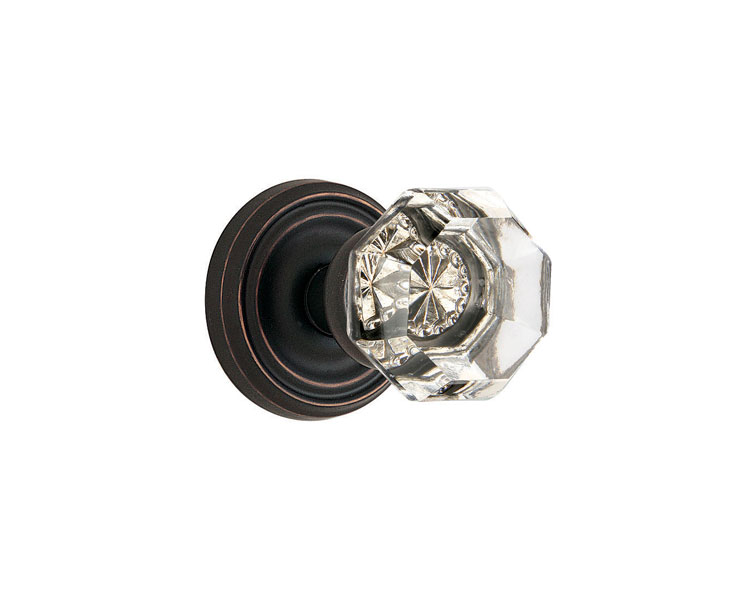
crystal knob for the interior door (doesn't it just make you swoon?!?!)
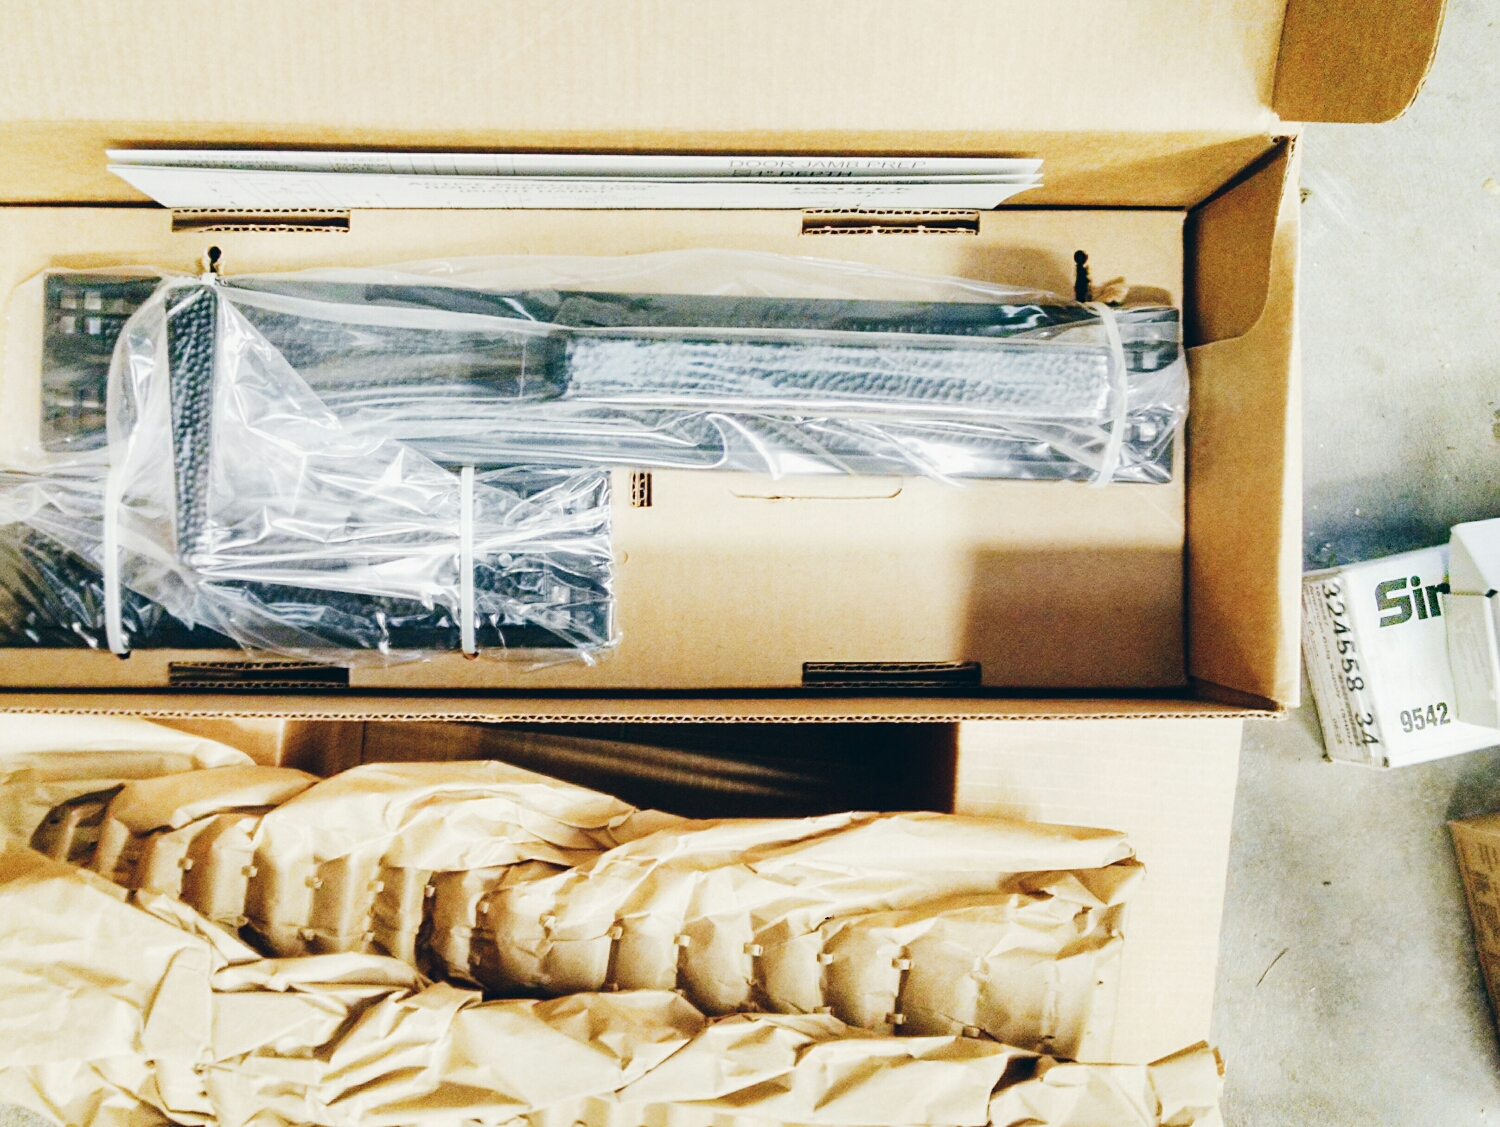
entry handle set for the front door (can you spot the craftsman-y details through the packaging?)


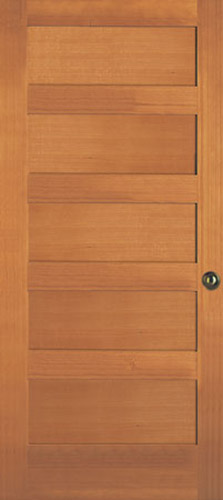
the doors are from simpson, the palomar ii (for front and back) and a five panel shaker. we found it a lovely coincedence that the name exterior door we fell in love with is the same name as the hotel we we stayed in when we got married (the palomar hotel, washington, dc).
the pretty hardware is from emtek. the old town crystal knob we ordered is as pictured above, but the arts and crafts full length entry set we got is in flat black, so the hammered look is more subtle. i just can't wait until all this work is done..!