the outside of the house gets a little love.
jenn pan
we replaced the light fixture on the side of the house, and we couldn't be more excited about it!


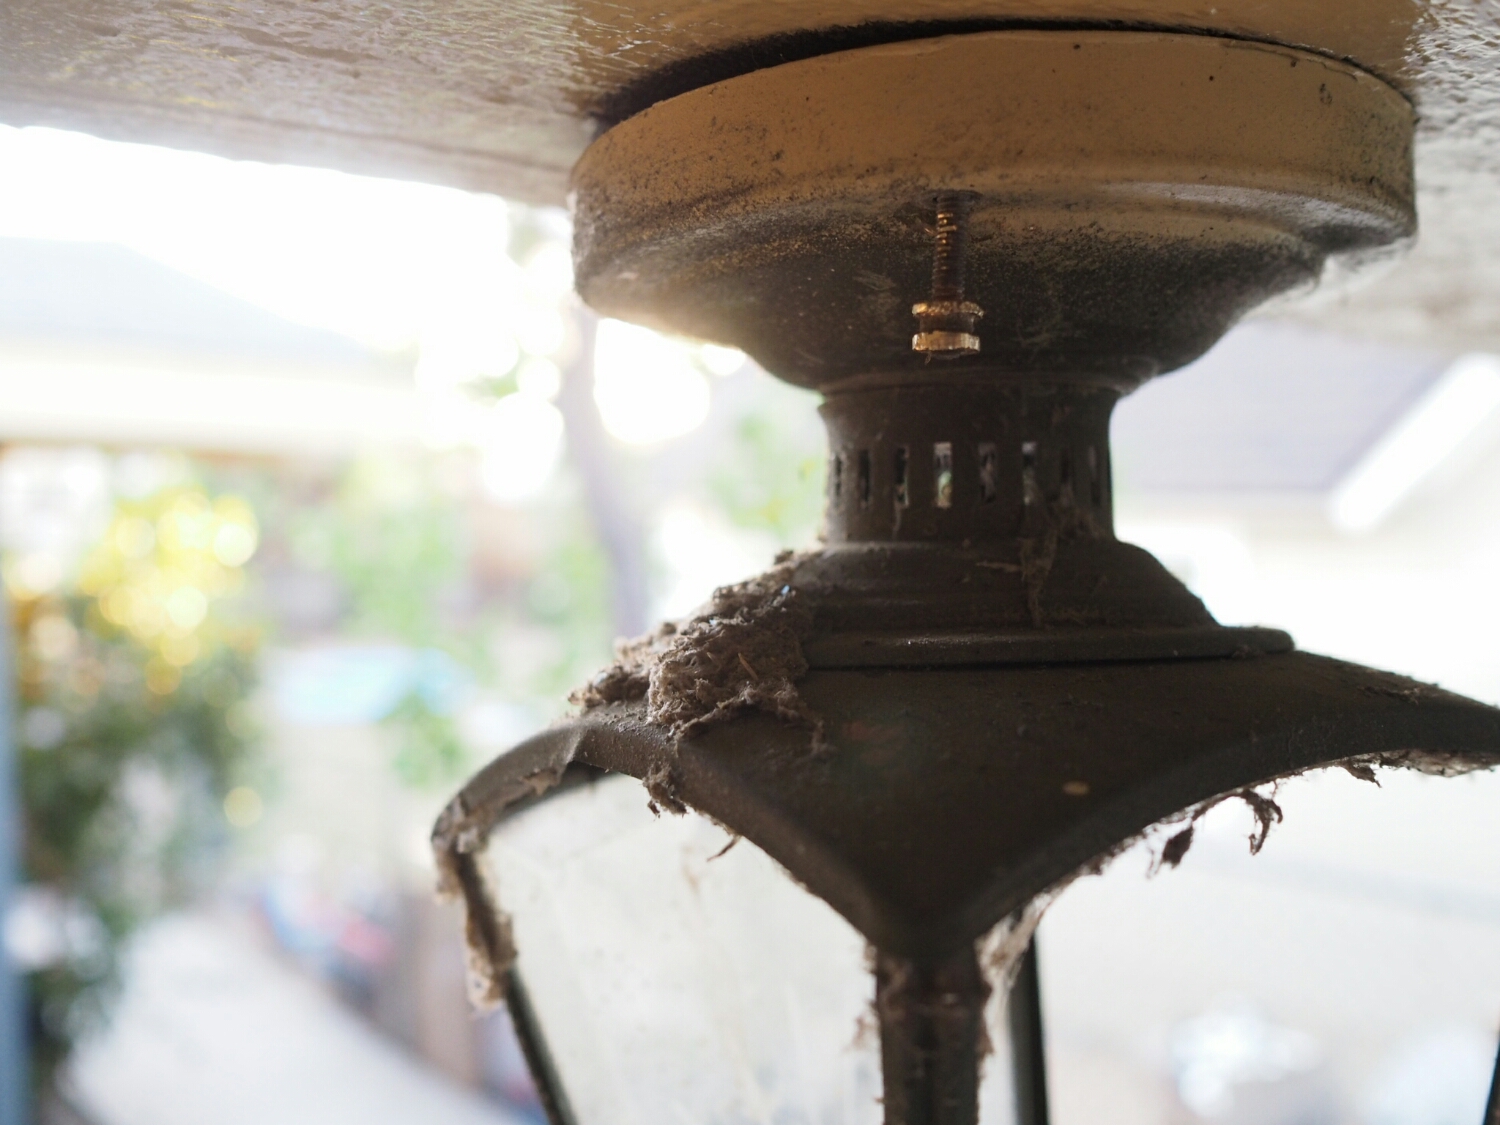
the existing light on the side of the house (visible from the kitchen and dining rooms) isn't inherently bad, but it looked really janky because it's broken and missing several pieces of glass (james turned it so that the two intact pieces face the street). it doesn't help that we essentially gave up on it, so didn't even bother to clean it, letting the spiderwebs and dead bugs just run rampant.

gross.
it's bothered us from the day we moved in, and we look in the outdoor lighting section of every home depot and lowe's that we go into, every single time. surprisingly, there just aren't that many options for a small, outdoor-rated ceiling mounted pendant light - especially in a style that makes sense with a hundred year old craftsman house! in the end, after a visit to rejuvenation in culver city, we ordered this jordan valley semi-flush mount (outdoor-rated!) in antique copper, with a six inch clear glass globe shade. guys, it is so pretty. it was more than we really wanted to spend on a side light, but the quality is palpable. and again, so so so so pretty. you'll see.

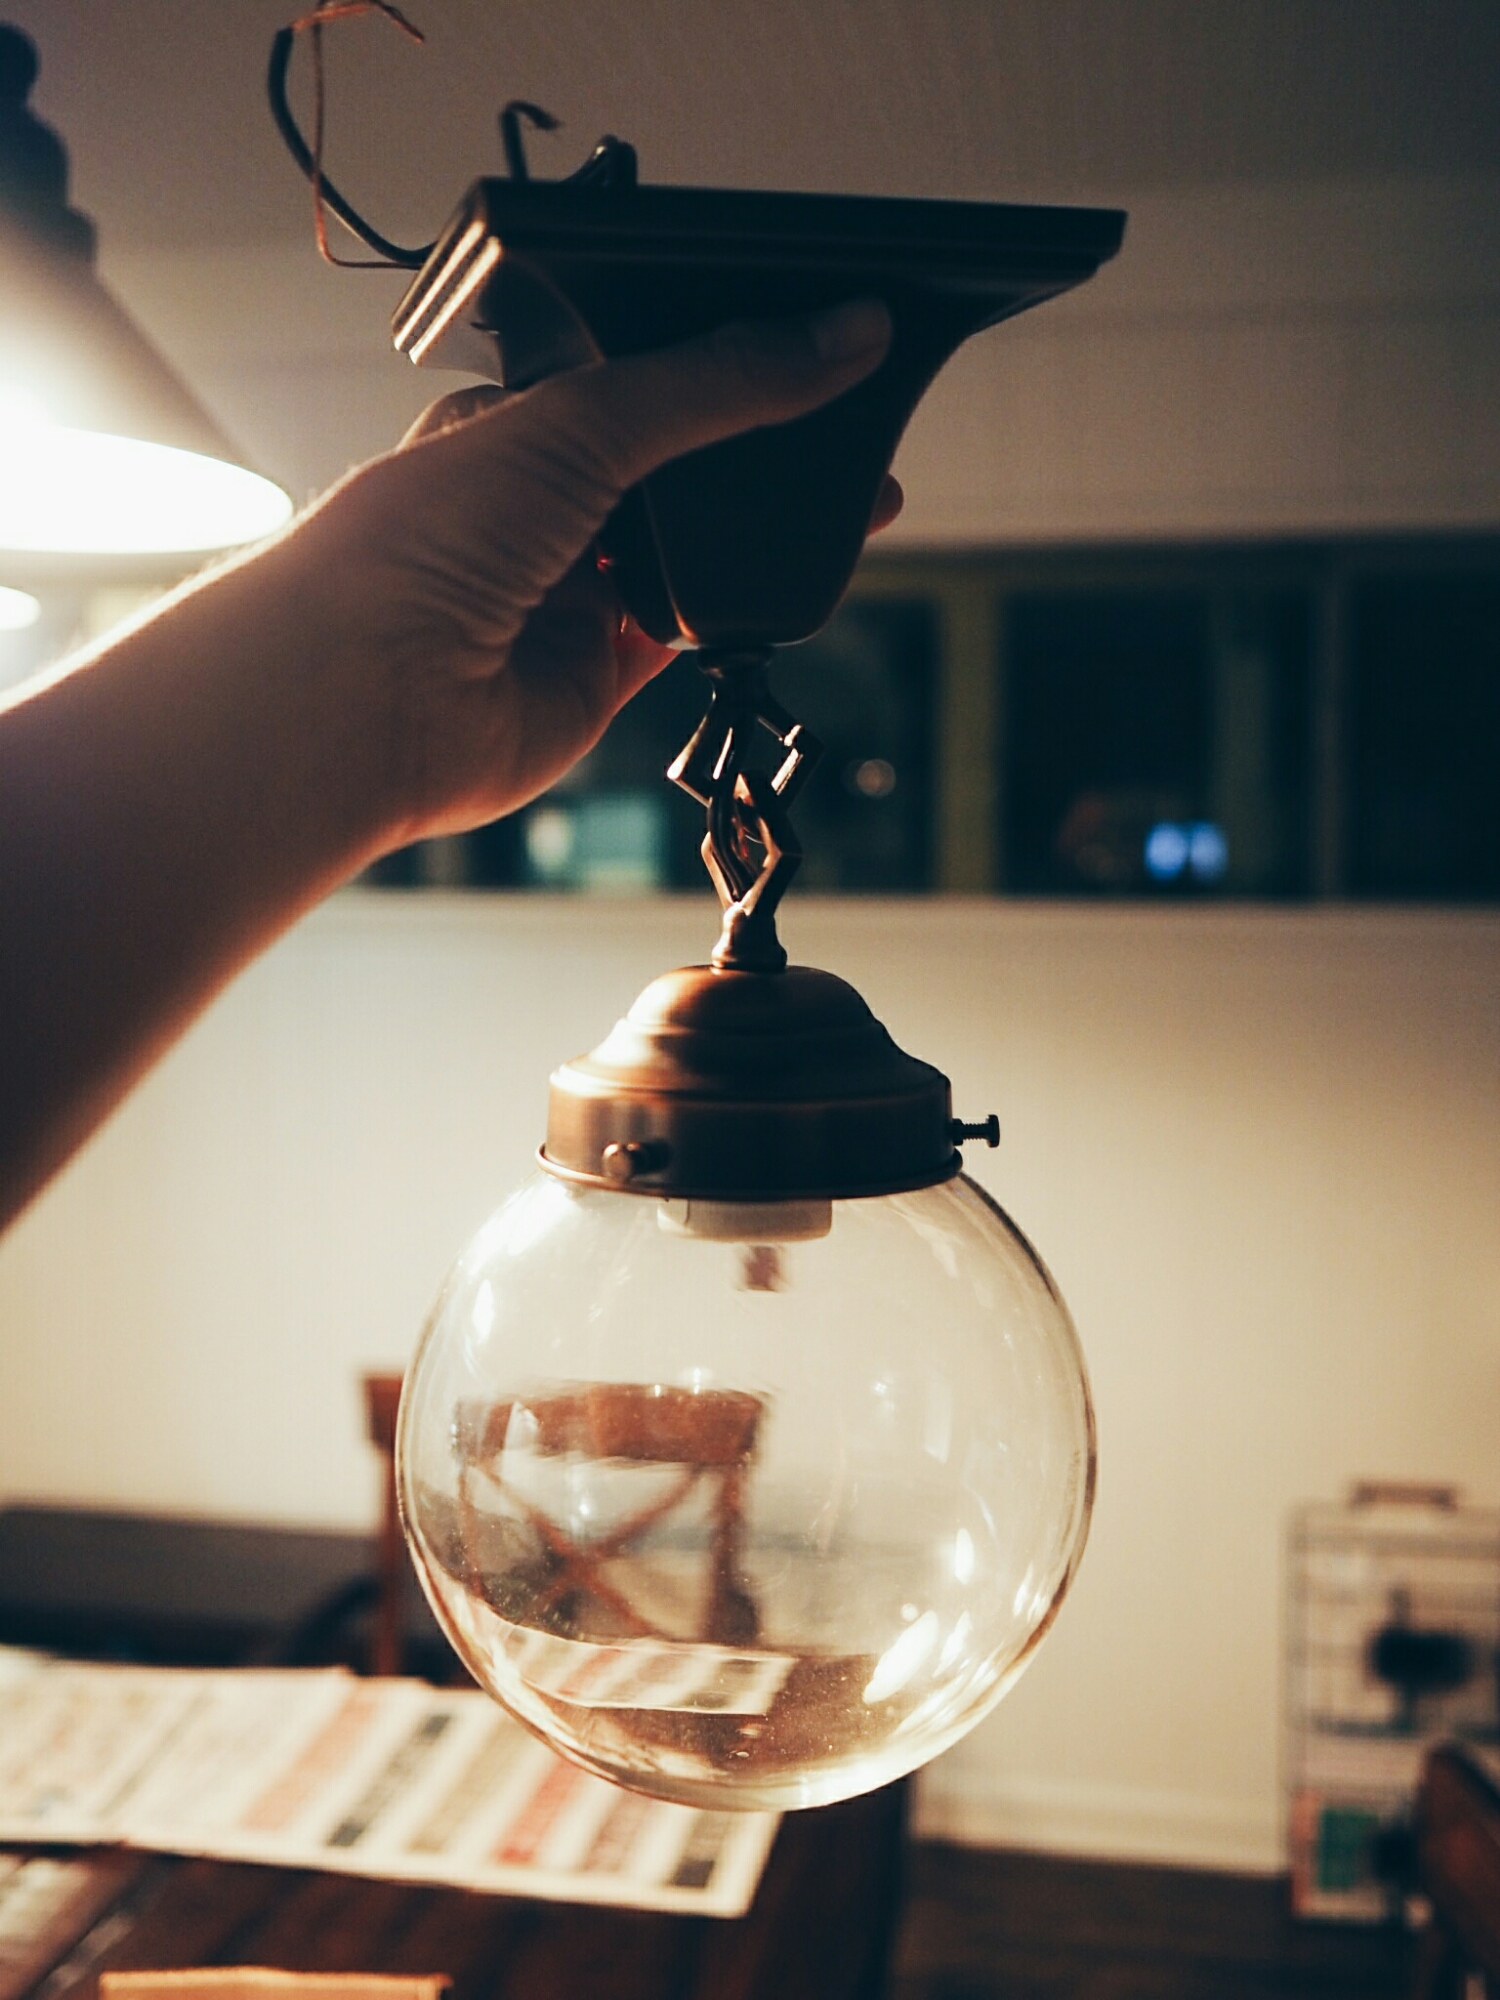
eeeee....! (so pretty!)

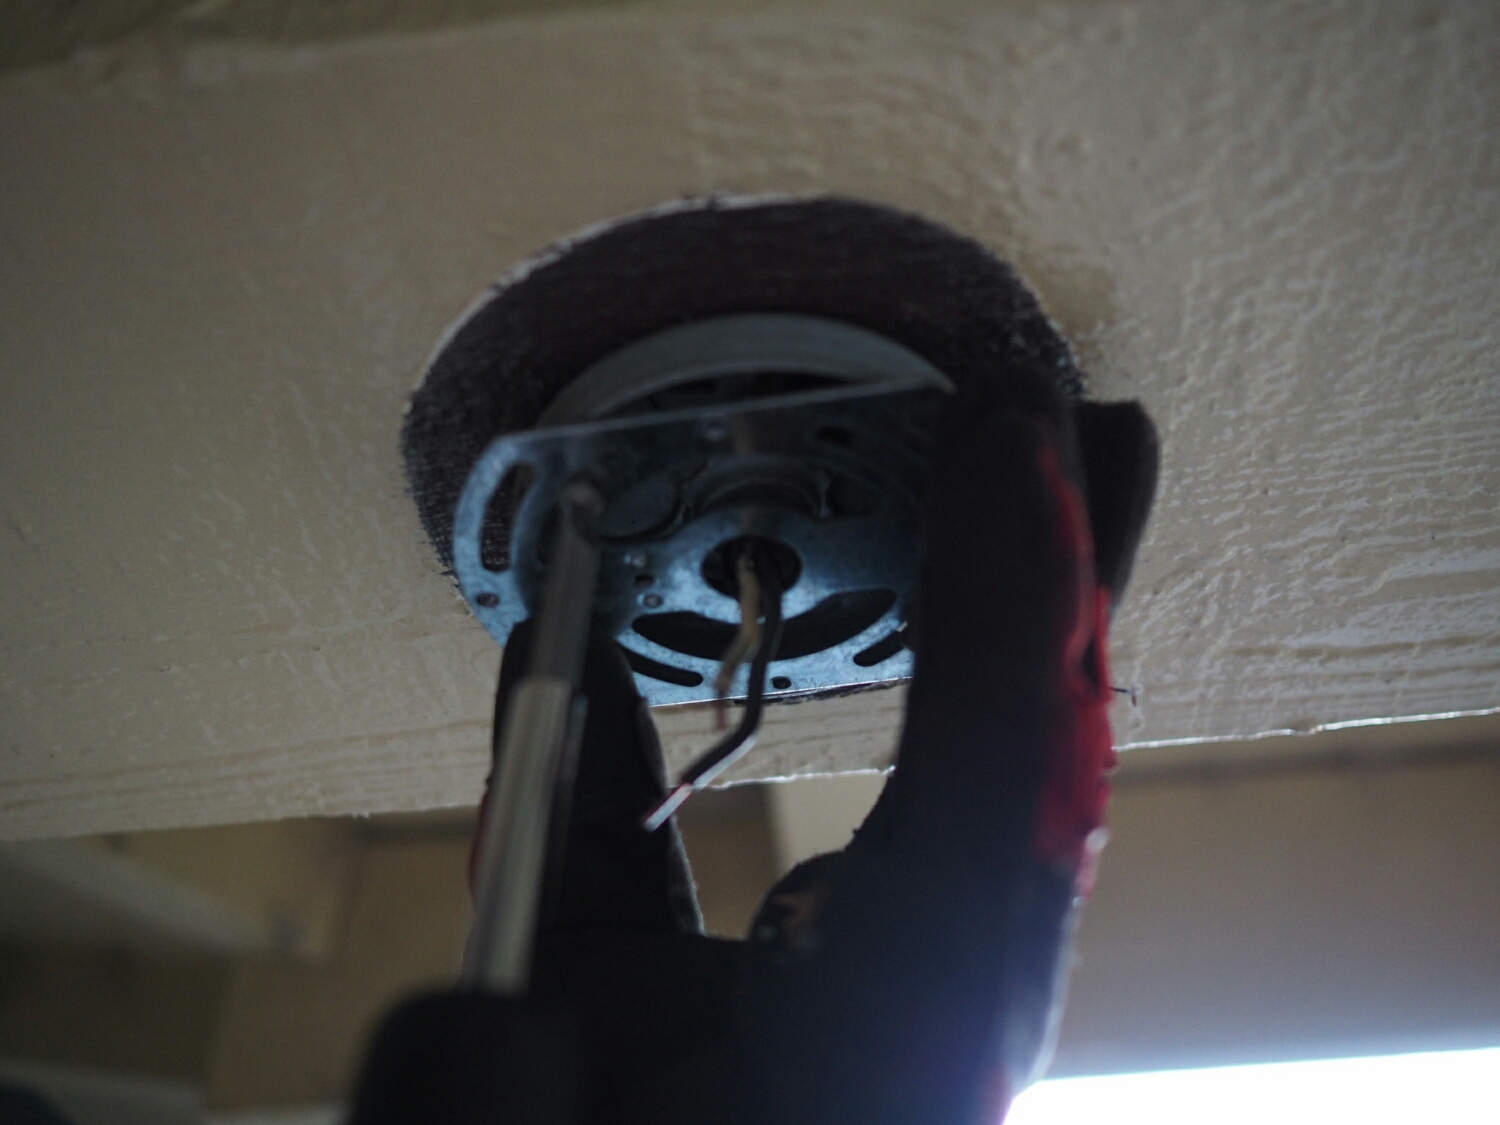
we thought getting the old fixture off would be a piece of cake - according to the instructions, just a screwdriver and pliers, right? maybe a vise grip. but of course, this fixture has been there for decades, and nothing is ever as easy as you'd hope.
there was so much rust, and stripping of the little bolts holding the mount in place, that we just could not get it off. it was basically spining freely inside the mount, so we had to resort to a dremel. i can't say how grateful i am that james has a pretty decent set of tools at his disposal, and we didn't have to make an additional trip to the store for such a relatively minor setback.

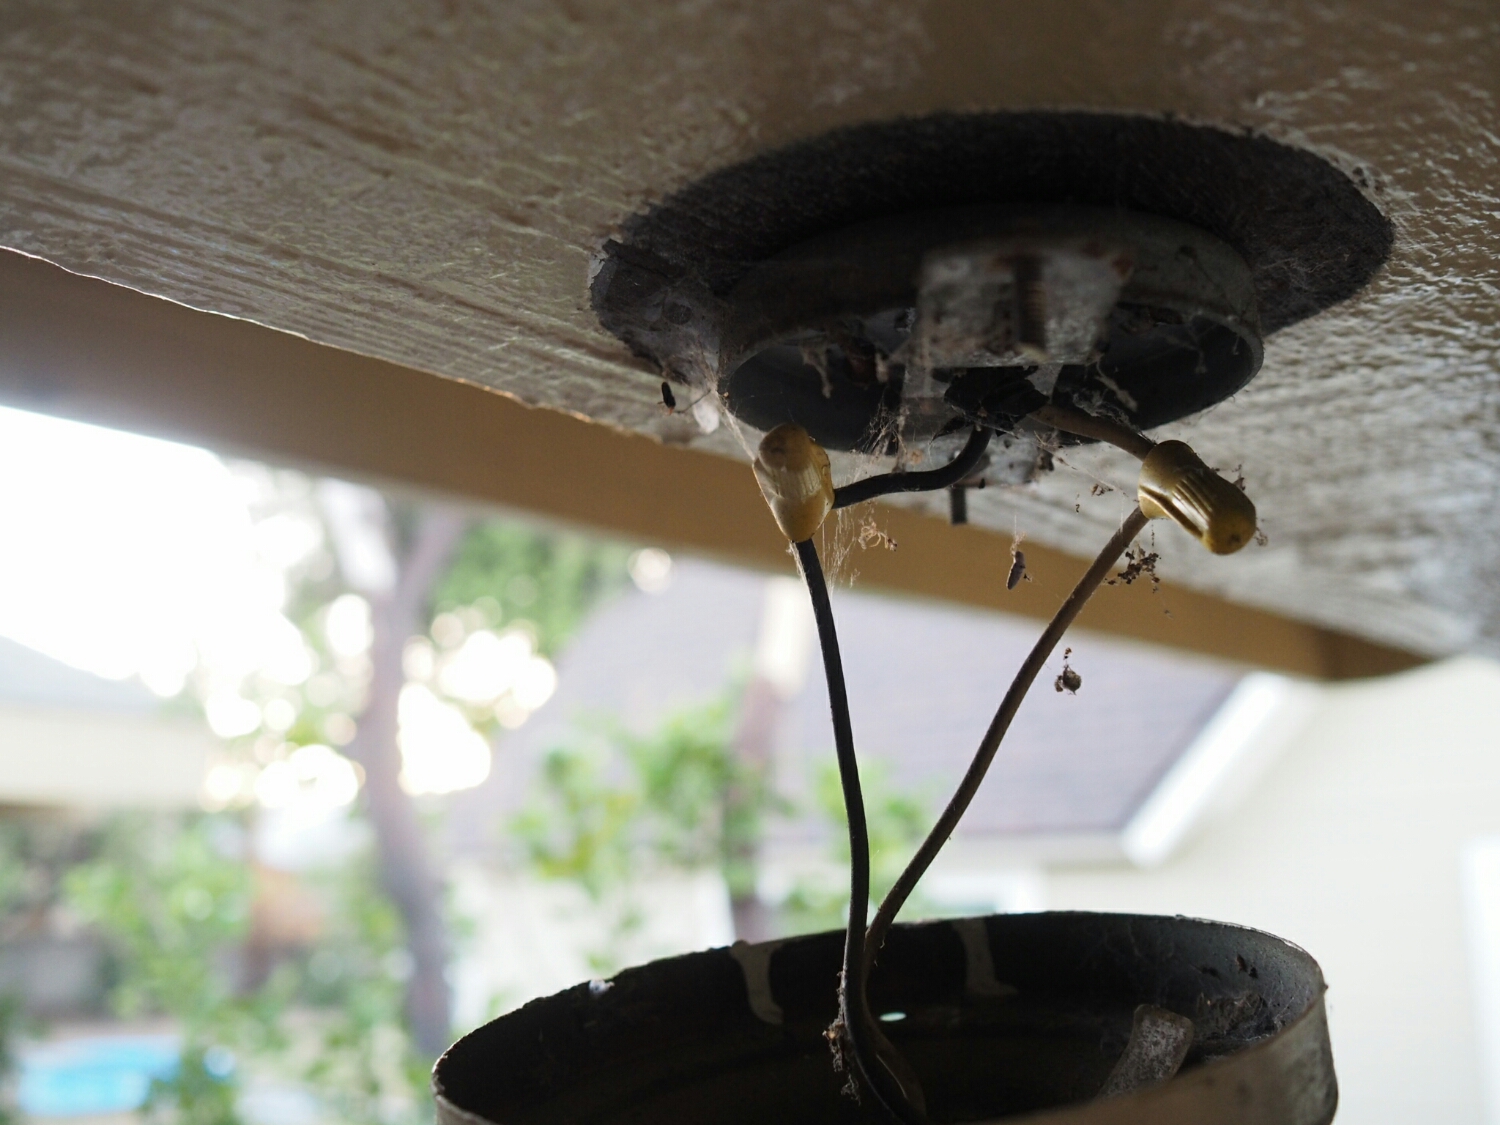
anyway, once we got the mount removed, it was relatively simple. phew! we didn't know what we would find (again, super old house). so finding a standard black/white power/neutral set of wires was quite a relief.
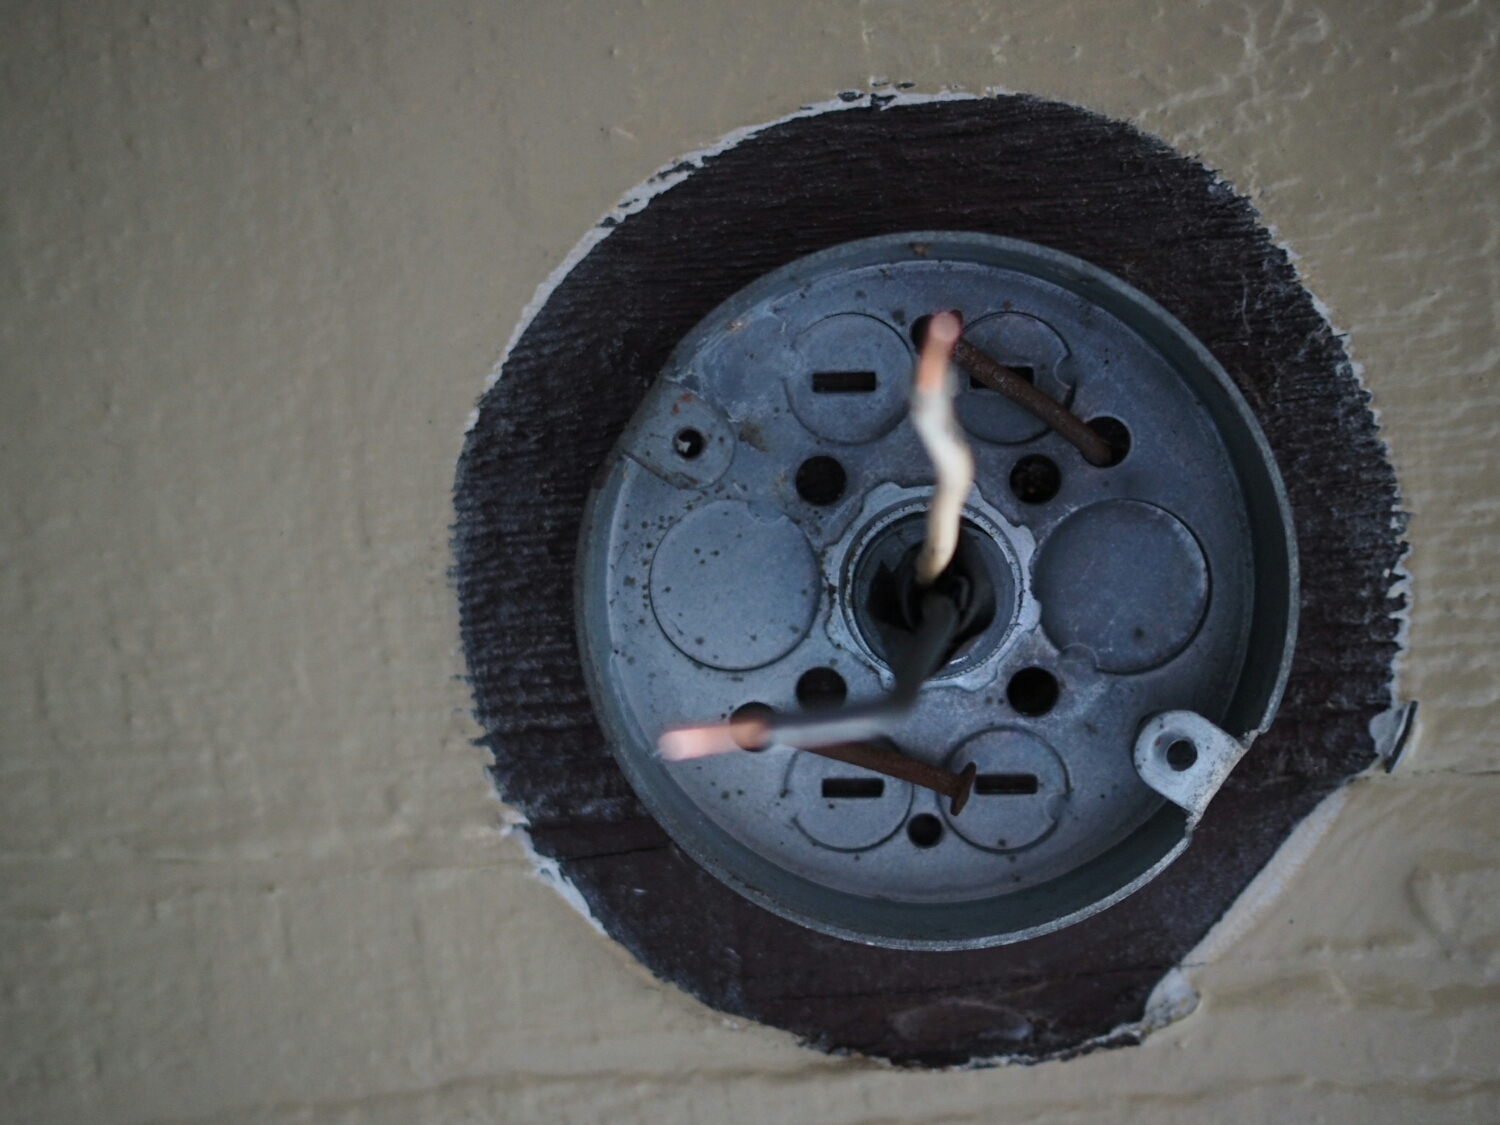
we're not too pleased that the little junction mount sticks out about half an inch (and you'll see why in a second), but at least it cleaned up pretty nicely, and we were quickly able to wire up the new fixture to it.
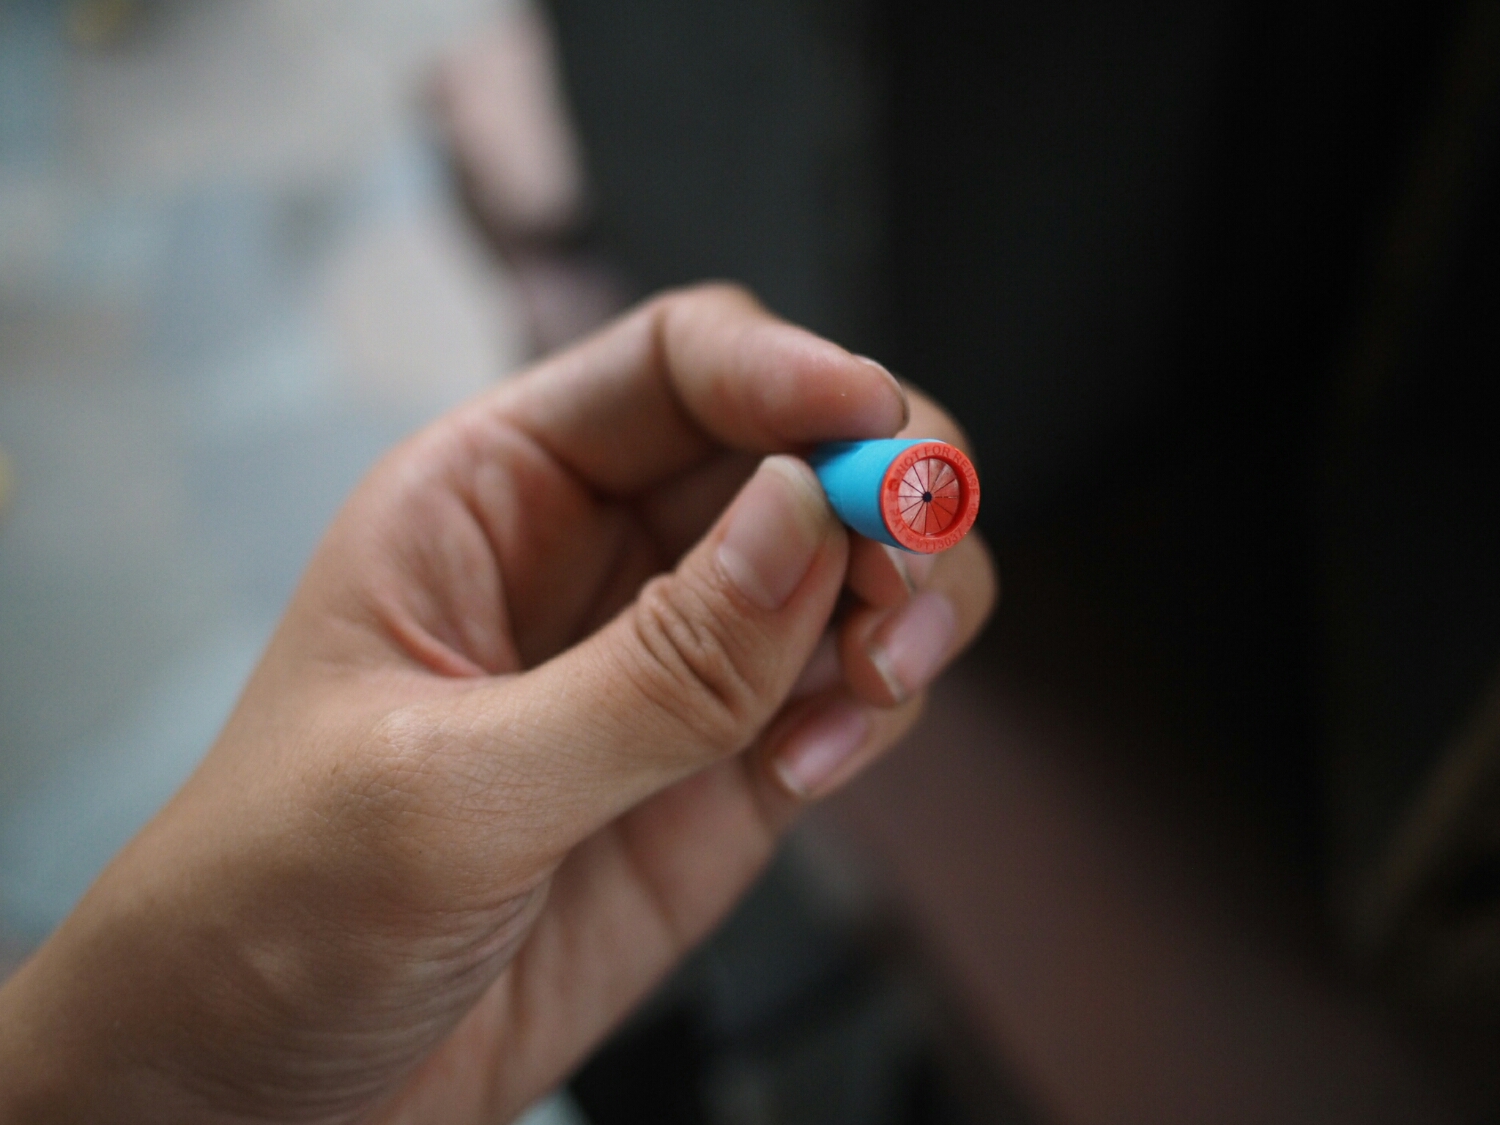
even though we really don't get much rain in los angeles (especially this drought-y year), we still wanted to be safe, and by chance found these waterproof connectors. we didn't really get how they would work, until we used them. when you stick the wires into it, it breaks some seal inside it that is holding a silicone sealant, which coats the wires, waterproofing the connection. pretty nifty!

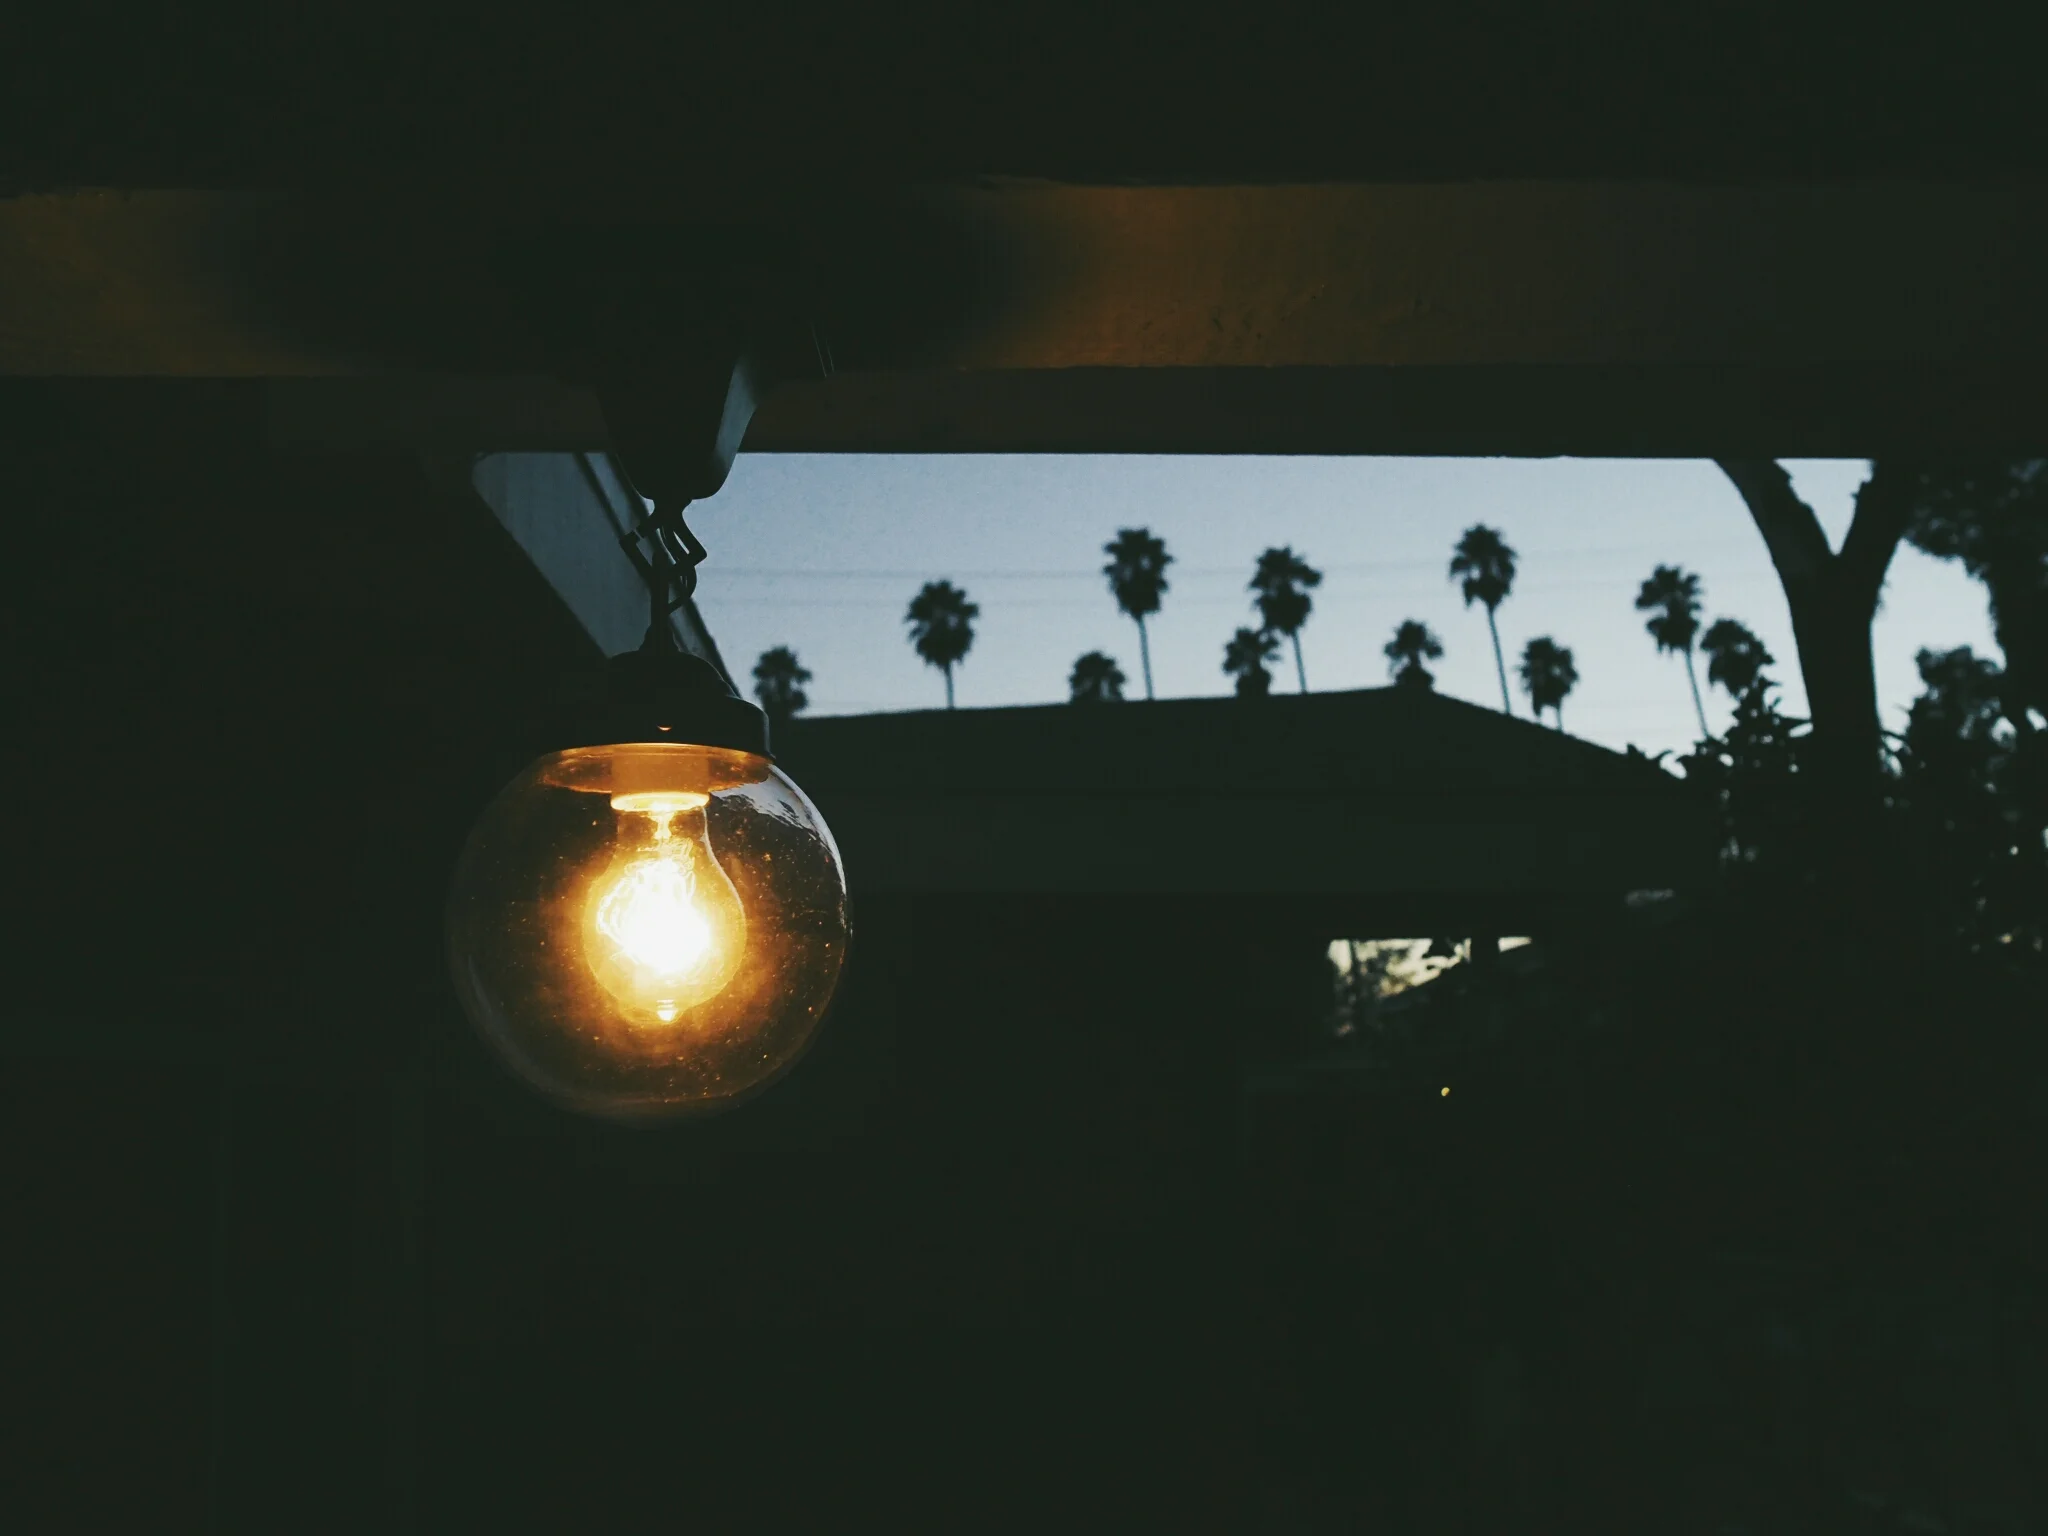
and voila! however, can you see what i see? there's a bit of a gap there between the mount and the beam..

we're going to leave it as is for the moment, but we'll need to find some way to make this look better. knowing the area, it will just become infested with more spiderwebs and bugs. we're thinking of making an additional wooden mount piece to go between the two.
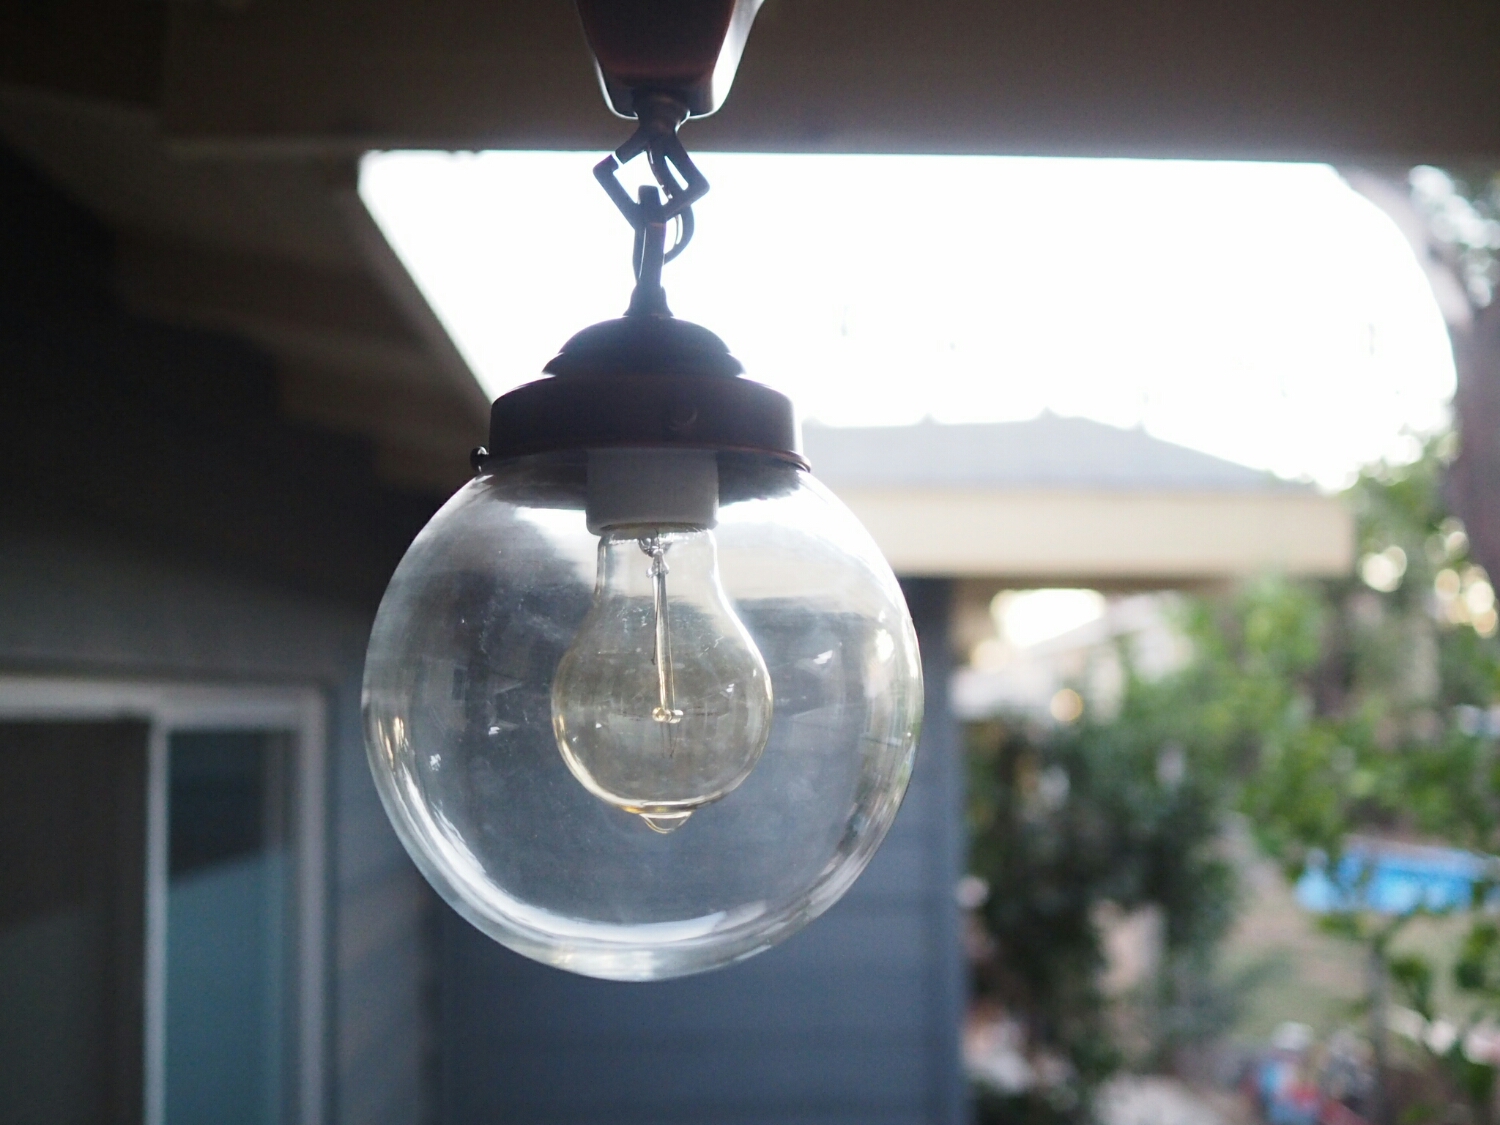
With such a pretty fixture, we couldn't just use the old CFL in it. We ended up going with an edison bulb, which is less efficient, but gives off a much warmer and prettier light for the side porch.
